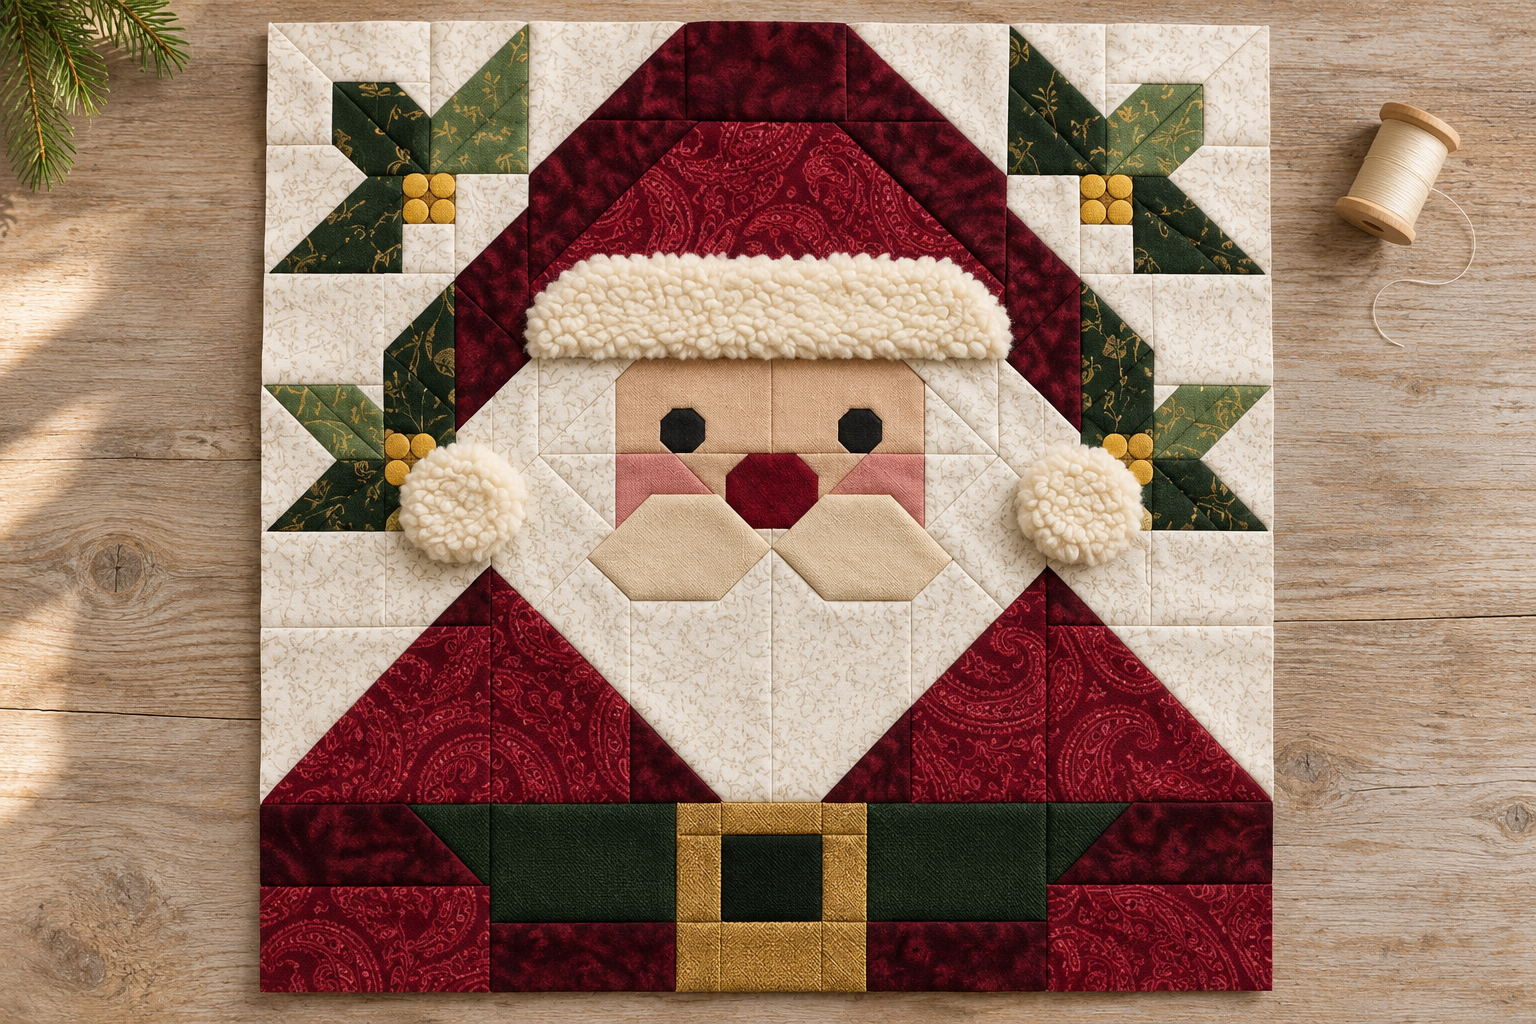
A pointed hat, tiny gold flower centers, and a square buckle give this Santa Claus quilt block its character. Four angular flowers frame Santa’s face, while a strip of ivory sherpa and two little pom-poms give the block a soft, dimensional finish.
The printable pattern makes a 12-inch finished block (12½ inches before it is sewn into a project). The background, flowers, hat, beard, and belt are pieced. The eyes, nose, mustache, and gold dots are appliquéd onto the assembled block. That combination gives you crisp patchwork points and keeps the smallest details manageable.
Small-scale prints keep the four flowers easy to see, especially where the petals narrow to a point. If you’re using a directional print, test-fold each fabric piece into place before stitching it to the foundation. This gives you a chance to position a tiny sprig or gold detail where it will show and check that the flowers on both sides look balanced.
For the blue version, pair royal blue cotton with a lighter blue paisley for the hat and coat. Plum and purple floral prints set off the corner flowers. Use a quiet white-on-white cotton for both the background and beard so the lines of the hat and shoulders stay easy to see.
The cover shows a second palette in burgundy, cranberry, evergreen, sage, and antique gold. Use the darkest burgundy for the outline of the hat and let the cranberry paisley fill its center. For the facial details, lay the sand, biscuit, and dusty rose fabrics next to each other before cutting. A light mustache will stand out against the cheeks without disappearing into the ivory beard.
Piece the Flowers and Hat in Sections
Start by printing the foundation pages at Actual Size or 100%. Measure the one-inch test square with your quilting ruler before cutting out the foundations. The full-size templates include both sides of the block. Keep each set labeled left or right as you sew, especially when pairing the flower corners.
The upper flower looks especially crisp when the two pieces of the printed petal meet at the diagonal. Check that point from the front before joining the flower to the crown. When you assemble the lower bands, match the seams where the beard meets the blue or burgundy shoulder fabric. A pin through each marked seam intersection keeps those points lined up as you sew.
Add the Face and the Soft Trim
Place the two charcoal eyes just above the forehead seam and center the red nose on the vertical seam. Set both mustache pieces on the block together before securing them. Their inner tips should meet under the nose, with the outer tips pointing slightly outward and down. Keeping the two shapes at the same height makes a bigger difference than shifting the placement of an individual flower dot.
Ivory sherpa, low-pile fleece, or a short-pile textured cotton works for the hatband and pom-poms. If you’re making a table runner that needs to lie flat, choose textured cotton or a low-pile fleece. For a pillow or wall hanging, the loft of sherpa brings out the trim. Stitch the trim around its edge and use pressing heat suited to the fabric.
Use the Block in a Holiday Project
Add a 2-inch finished border on all four sides to make a 16-inch finished pillow front. The border leaves space around the flower points at the upper corners and keeps the top of the hat away from the pillow seam. Cream sashing and a narrow burgundy border would also turn a single block into a small wall hanging.
For a seasonal sampler, set Santa beside simple star or evergreen blocks. Repeat one fabric across the blocks, such as the tone-on-tone background or the gold used at the flower centers, to carry the color across the quilt. On Santa’s block, quilt the background and beard first, then use lighter stitching near the dimensional trim.
Download the Santa Claus Quilt Block Pattern PDF
The printable PDF includes the fabric list, cutting dimensions, numbered foundation templates, a full-block assembly diagram, and full-size appliqué shapes. Print the template pages at 100% and check the test square before you start.
Santa Claus Quilt Block Pattern
Where several seams meet at the flowers and shoulders, remove the foundation paper from the seam allowances before pressing the joins open. A pair of tweezers helps lift the small scraps caught near the stitches. Once the paper is removed, check that the block measures 12½ inches square before adding the face and trim. The outer quarter inch on each side is the seam allowance for joining the block to your project.
For a small wall hanging, try echo quilting about a quarter inch inside the angled edges of Santa’s beard with cream thread. The stitching follows the shape of the beard and draws the eye toward the mustache and nose. A narrow binding made from the same dark green cotton as the belt brings that color to the edges of the finished piece.