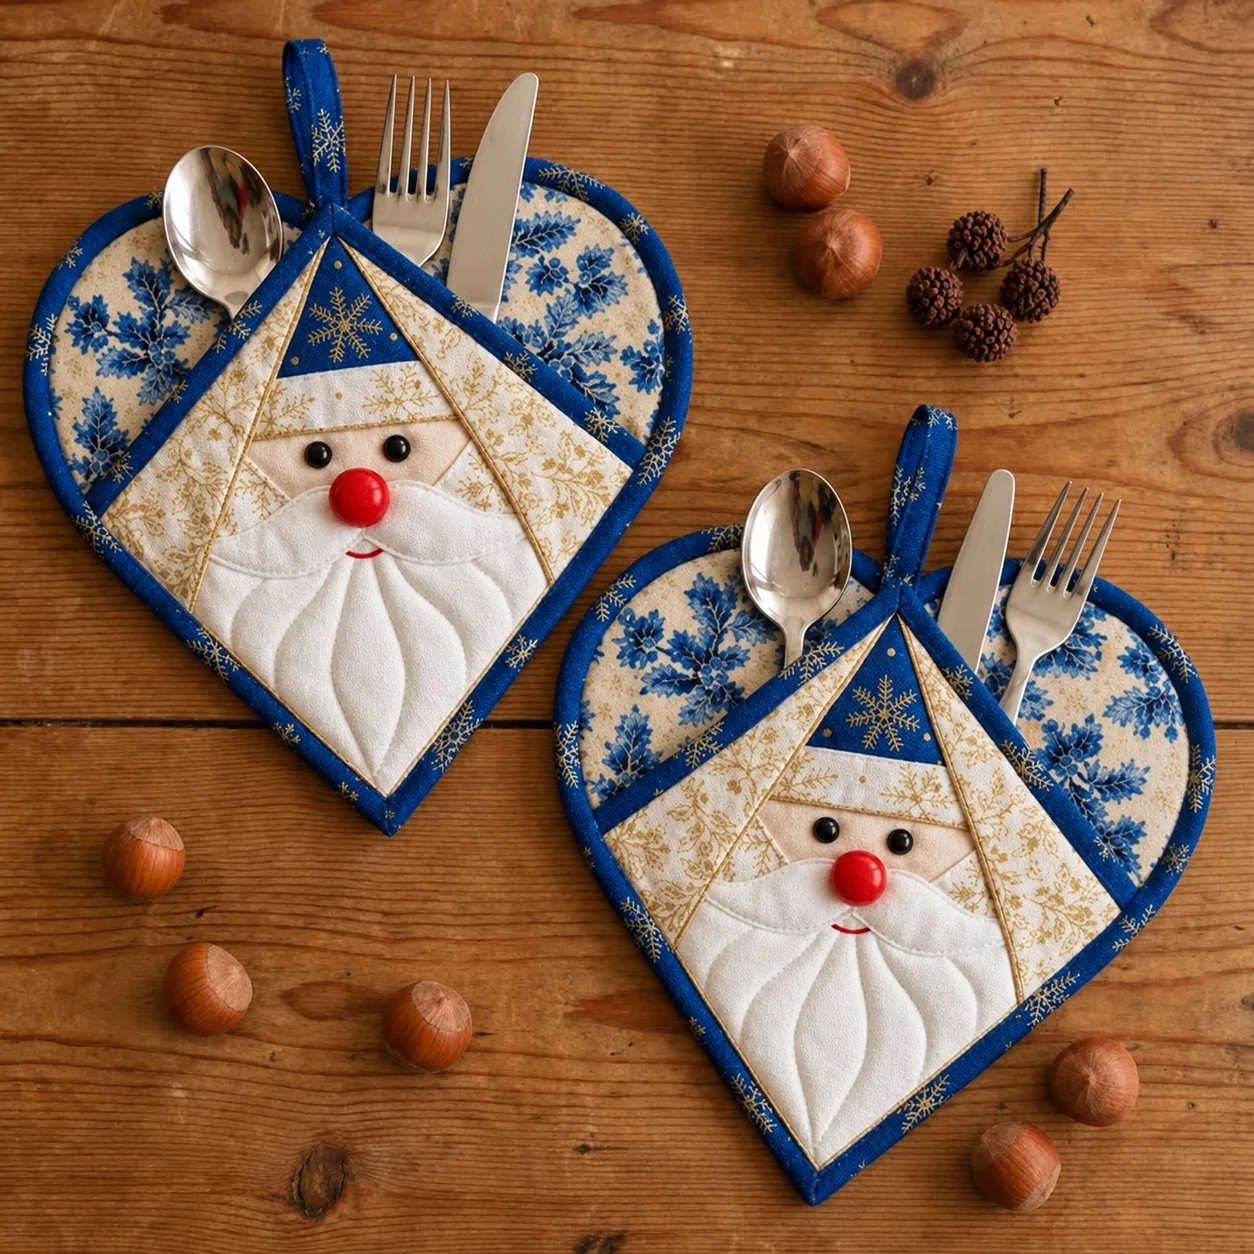
The point of Santa’s hat meets the dip in a blue floral heart. Slip a spoon into one side and a fork and knife into the other, and the silverware frames his face. His white beard stays in view all the way to the tip of the heart. This quilted Santa cutlery holder finishes at about 8 inches wide and 8 inches tall (20.3 × 20.3 cm), excluding the hanging loop.
A holly print can look quite different in the two small curves at the top of the heart. Slide the paper template over your fabric until a leaf or a cluster of berries sits inside the curve. Then turn the template over and choose a motif for the other side. Two sprigs that sweep in opposite directions frame Santa’s hat beautifully.
Save a quiet piece of navy for the cap so the embroidered gold snowflake shows. For the beard and mustache, try laying white cotton beside unbleached muslin. That slight shift from white to ivory lets you see where the mustache curls over the beard, even when you use matching thread. A small scrap of bright red cotton supplies the nose.
To keep the pocket soft, trace the cream-and-gold panel onto the paper side of your fusible web, then cut away the center of the web, leaving a ¼-inch rim inside the traced line. Press that rim to the wrong side of the fabric before cutting out the panel. The edges will stay in place for stitching, and the center will still bend easily around the silverware.
Give the beard a little dimension
The beard gets its shape from four curved lines of quilting worked over thin flannel. Sew them while the pocket front is flat, before adding the lining. Start each long curve just below the mustache and guide it gently toward the bottom of the heart. The small spaces between the stitched lines allow the fabric to rise and catch the light.
The pattern includes two ways to finish Santa’s nose. The flat red appliqué circle gives a smooth finish. For the rounded nose shown in the photo, gather the larger red circle around a pinch of batting. Attach it after turning and pressing the pocket so you can reach the pointed corners with your iron first.
Leave both sides open for the silverware
The two sloping navy edges form the pocket openings. When you lay the finished pocket over the heart, match the bottom tips first. Then line up the shoulders on either side. Sew from one shoulder down around the bottom point and back up to the other shoulder. A short tack just below the dip in the heart holds the peak of Santa’s hat in place.
Try sliding a spoon handle into each side before setting the table. It should pass easily beneath the navy edge and settle into the lower part of the pocket while Santa’s face stays flat.
Sew a pair for the Christmas table
For two coordinated place settings, use the same navy fabric for both frames and feature a different holly sprig on each heart. Lay the two faces side by side before fusing the pieces. A tiny change in the tilt of a brim or the position of a mustache can give each Santa an expression of his own.
Download the free pattern
The printable PDF includes the fabric cutting chart, illustrated assembly instructions, full-size appliqué templates, and a placement diagram for Santa’s face. Print pages 6–10 at 100% or Actual Size. Before tracing your first heart, check that the test square measures 1 inch (2.54 cm) on each side.
Santa’s expression starts with two small pencil dots on the paper template. Use the placement diagram to transfer the eye positions to the fabric with a removable marker. Fill each eye with short black satin stitches worked in the same direction. Before embroidering the smile, lay the red nose in position so you can see how much of the little curve will peek out underneath.
Download the free Quilted Santa Cutlery Holder Pattern
Santa’s expression starts with two small pencil dots on the paper template. Use the placement diagram to transfer the eye positions to the fabric with a removable marker. Fill each eye with short black satin stitches worked in the same direction. Before embroidering the smile, lay the red nose in position so you can see how much of the little curve will peek out underneath.