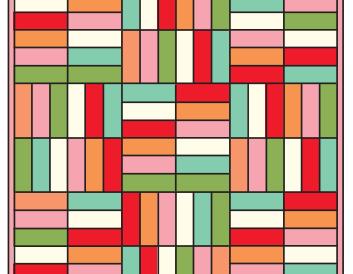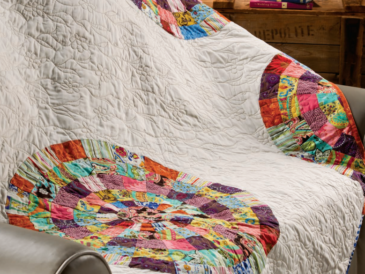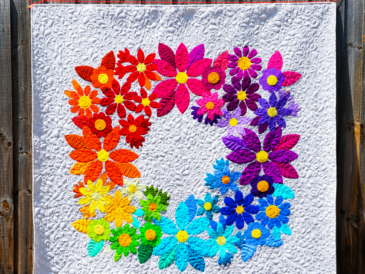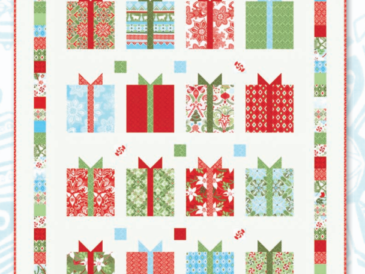
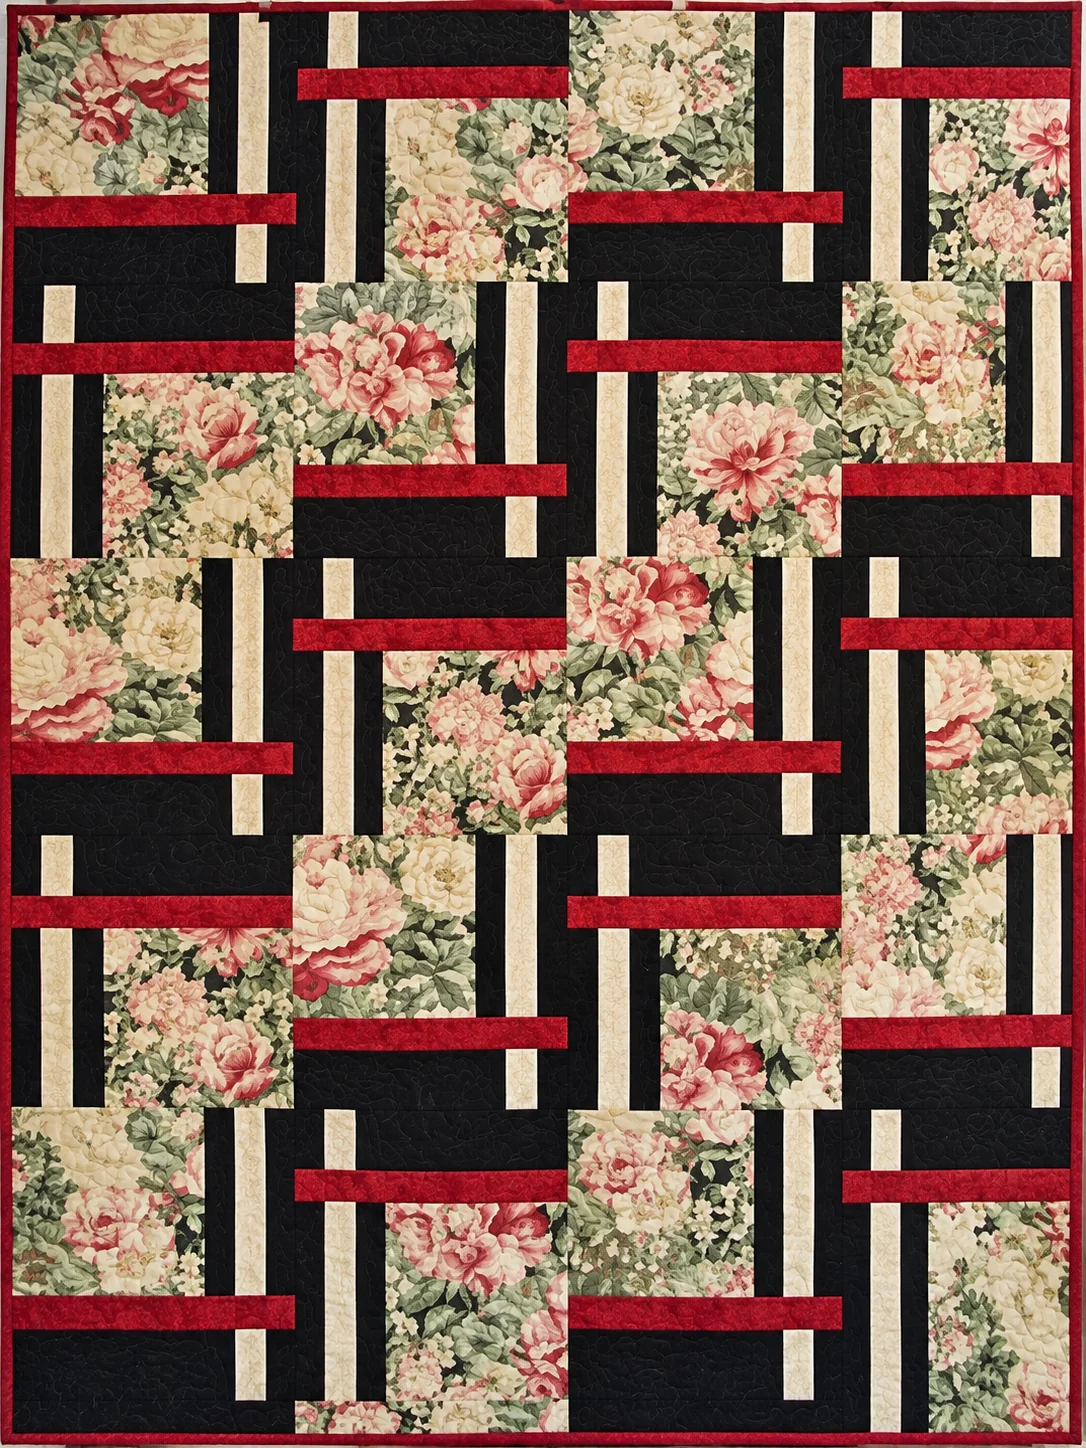
This striking quilt is built from one simple off-center block that becomes much more dramatic when rotated throughout the quilt. A large floral square provides the focal point, while narrow framing strips create the woven, interlocking appearance.
The version shown here uses thirty 13½” finished blocks arranged in five columns and six rows, creating a borderless Twin-size quilt measuring approximately 67½” × 81″.
Finished Size
Quilt: 67½” × 81″
Block finished: 13½” × 13½”
Block unfinished: 14″ × 14″
Number of blocks: 30
Layout: 5 blocks × 6 blocks
Seam allowance: ¼”
Fabric Selection
The quilt works especially well with three strongly contrasting fabrics.
Fabric A – Focus Fabric
Large floral or novelty print.
Fabric L – Linear/Stripe Fabric
A strong black-and-cream stripe or similar directional print creates the dramatic frame effect visible in the quilt.
Fabric D – Accent Fabric
A contrasting red or other bright solid.
For a look similar to the photographed quilt, choose a romantic floral print for A, a black/cream linear print for L, and a rich red for D.
Fabric Requirements – Twin Size
| Fabric | Amount |
|---|---|
| Fabric A – Floral | 2⅜ yards or thirty 9½” squares |
| Fabric L – Stripe/Linear | 2¼ yards |
| Fabric D – Red Accent | 1¾ yards |
| Backing | 5 yards |
| Batting | 74″ × 87″ |
| Binding | ¾ yard |
Cutting for ONE 13½” Finished Block
Fabric A – Floral
Cut:
- 1 square – 9½” × 9½”
Fabric L – Stripe/Linear
Cut:
- 2 rectangles – 2″ × 9½”
- 1 rectangle – 11″ × 3½”
- 1 rectangle – 2″ × 3½”
Fabric D – Red
Cut:
- 1 rectangle – 2″ × 9½”
- 1 rectangle – 2″ × 14″
- 1 rectangle – 2″ × 3½”
For 30 blocks, multiply all of these pieces by thirty.
Complete Cutting List for 30 Blocks
Fabric A
30 – 9½” × 9½” squares
Fabric L
60 – 2″ × 9½” rectangles
30 – 11″ × 3½” rectangles
30 – 2″ × 3½” rectangles
Fabric D
30 – 2″ × 9½” rectangles
30 – 2″ × 14″ rectangles
30 – 2″ × 3½” rectangles
Because Fabric L is directional, pay close attention to the direction of the stripe while cutting. Consistent stripe placement is one of the details that gives this quilt its distinctive woven appearance.
Block Assembly
Step 1 – Make the Side Frame
Take:
- two Fabric L rectangles measuring 2″ × 9½”
- one Fabric D rectangle measuring 2″ × 9½”
Arrange them in this order:
L – D – L
Sew the three strips together along their long edges using a ¼” seam allowance.
Press carefully.
The completed strip unit should measure approximately:
5″ × 9½”
before it is attached to the floral square.
Step 2 – Add the Floral Square
Place the 9½” × 9½” Fabric A square to the left of the L-D-L strip unit.
The arrangement should look like:
FLORAL | L | D | L
Sew the frame unit to the right side of the floral square.
Press.
Your upper section should now measure:
14″ wide × 9½” high.
Step 3 – Make the Lower Frame Unit
Take:
- one Fabric L rectangle – 11″ × 3½”
- one Fabric D rectangle – 2″ × 3½”
- one Fabric L rectangle – 2″ × 3½”
Arrange them:
L 11″ × 3½” | D 2″ × 3½” | L 2″ × 3½”
Sew the pieces together along their 3½” edges.
After sewing, this unit should measure approximately:
14″ × 3½”.
The narrow D section should eventually line up vertically with the D strip in the upper frame.
Step 4 – Add the Horizontal Accent
Take the:
Fabric D – 2″ × 14″ rectangle
and sew it across the entire bottom edge of the upper floral/frame unit.
This creates the strong horizontal red line seen throughout the finished quilt.
Press the seam.
Step 5 – Complete the Block
Position the lower L-D-L unit underneath the horizontal red strip.
Pay special attention to the vertical alignment.
The narrow D rectangle in the lower section should align with the vertical D rectangle in the upper section.
Sew the lower unit in place.
Press carefully.
The completed block should measure:
14″ × 14″ unfinished
and will finish at:
13½” × 13½”
when sewn into the quilt.
Why the Block Creates the Interlocking Effect
The block itself is intentionally asymmetrical.
The floral square sits toward one corner instead of being centered. The framing elements continue around two sides, with the accent strip crossing the block horizontally.
Once blocks are rotated, the frame lines appear to travel from one block into another.
This is what creates the woven or interlocking appearance without complicated piecing.
Block Rotation
For the layout shown in the inspiration quilt, you mainly need two orientations.
Block A
Keep the block in its original position:
- floral square toward the upper-left
- long red strip running horizontally below the floral section.
Block B
Rotate Block A 180°:
- floral square moves toward the lower-right
- red horizontal frame appears near the upper portion of the block.
Do not mirror the blocks. Simply rotate them.
Quilt Layout
Arrange thirty blocks in:
5 columns × 6 rows
For a balanced interlocking layout, alternate the two block orientations.
Row 1: A – B – A – B – A
Row 2: B – A – B – A – B
Row 3: A – B – A – B – A
Row 4: B – A – B – A – B
Row 5: A – B – A – B – A
Row 6: B – A – B – A – B
Before sewing, place all thirty blocks on a design wall or large floor area.
Stand several feet away and check the direction of the floral motifs and frame lines. If using a large-scale floral print, you may wish to rotate individual floral squares before sewing the blocks so the flowers do not all point in the same direction.
Assemble the Quilt Top
Once you are happy with the arrangement, sew the five blocks of each row together with ¼” seams.
You will have six completed rows.
Press the seams of Row 1 in one direction and Row 2 in the opposite direction. Continue alternating pressing directions for the remaining rows.
This allows the block seams to nest neatly when the rows are joined.
Sew Rows 1 through 6 together in order.
The completed quilt top should measure approximately:
67½” × 81″
There are no borders in this version, which helps preserve the modern interlocking appearance.
Preparing the Quilt Sandwich
Cut or piece the backing so it extends several inches beyond the quilt top on every side.
Recommended batting size:
74″ × 87″
Layer:
Backing – Batting – Quilt Top
Baste using your preferred method.
Quilting Ideas
Because the piecing already has a strong geometric design, relatively simple quilting works beautifully.
Straight-line quilting parallel to the framing strips emphasizes the woven effect.
You could also quilt:
- gentle meandering through the floral areas;
- straight lines through the dark frame sections;
- echo quilting around the floral squares;
- a simple all-over loop or free-motion design.
Avoid extremely dense quilting if you want the quilt to remain soft and drapey.
Binding
After quilting, trim the excess batting and backing square with the quilt top.
Use approximately ¾ yard of binding fabric.
A standard 2½” double-fold binding works well.
Join the binding strips with diagonal seams, press the strip in half lengthwise, attach it to the quilt edge, miter the corners, and finish by machine or hand.
Optional 18″ Block Version
The same construction can also be enlarged to make an 18″ finished block.
For one larger block, use:
Fabric A
1 – 12½” × 12½” square
Fabric L
2 – 2½” × 12½” rectangles
1 – 14½” × 4½” rectangle
1 – 2½” × 4½” rectangle
Fabric D
1 – 2½” × 12½” rectangle
1 – 2½” × 18½” rectangle
1 – 2½” × 4½” rectangle
The unfinished block should measure 18½” square and finish at 18″ square.
The secret to this quilt is not difficult piecing t is fabric placement and rotation. Once the first block is complete, the remaining blocks are repetitive and relatively quick to assemble.
Interlocking Floral Frames Quilt Pattern PDF
Large-scale florals are particularly effective because each 9½” focus square becomes almost a miniature framed picture. Combined with a bold striped or linear fabric and a contrasting accent, the simple block develops into a surprisingly intricate quilt once thirty blocks are joined.
For the closest result to your reference photograph, I would use floral for Fabric A, black-and-cream striped fabric for Fabric L, and deep red for Fabric D. This should reproduce the distinctive black, cream, floral, and red appearance while still using the three-fabric construction indicated in the reference.