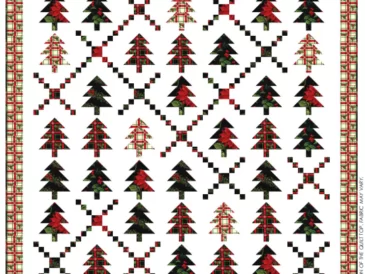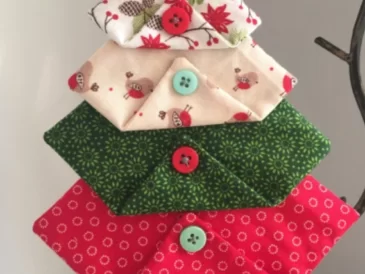
Some Christmas fabrics are almost too good to cut. Maybe you have a piece of red cotton printed with little villages, or the last strip of a holly print you used for stockings years ago. A Christmas quilt gives those favorites a place in your December decorating. Start with the print you most want to see in the finished quilt, then let it guide your next two or three fabric choices. You’ll find the free PDF pattern at the end of this article.
Spread your favorite print on the table and look closely at its colors. Suppose it has burgundy berries, green leaves, and an ivory ground. Pull one fabric to match the darkest leaf and another to match the ivory. Together, those three give you a starting palette with enough difference between light and dark for the patchwork to show up from across the room.
If you love blue Christmas decorations, try the same exercise with a winter print. A snowy village might suggest midnight blue, pale gray, and the warm yellow of a lit window. Even a small scrap of that yellow can draw the eye, so lay it in a few possible places before deciding where to use it.
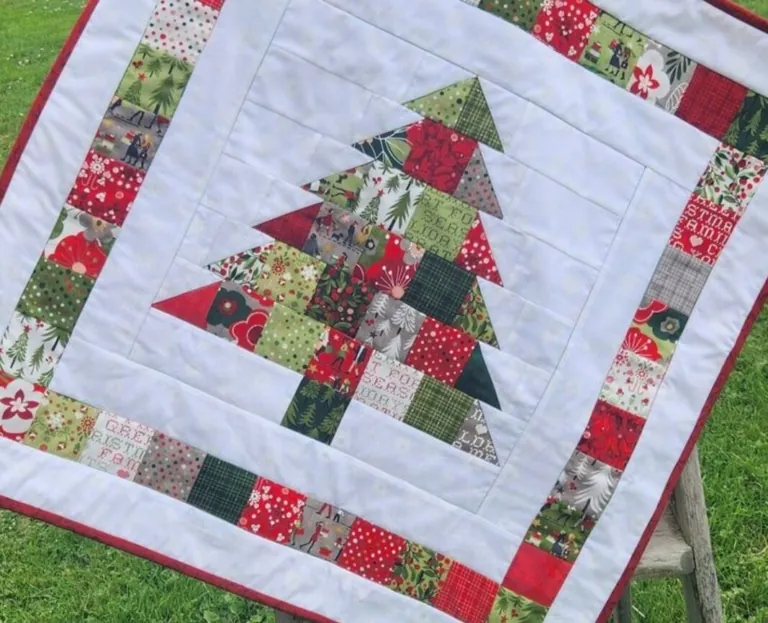
When you choose the backing, think about how the quilt will look folded over the arm of a chair. A little of the reverse side often peeks out. A pine-green check would look lovely against a busy patchwork top, while a print of handwritten Christmas recipes could give someone a reason to turn the whole quilt over for a closer look.
Match the print to the size of the patch
Once you have the PDF open, compare the finished patch sizes with the scale of your prints. A gingerbread house with a chimney and a front door deserves a piece large enough to show both. For smaller patches, look for details that still make sense after cutting, such as pin dots, tiny berries, or a narrow stripe. If your favorite scene is too large for the piecing, it can make a lovely surprise on the back.
Before you cut several pieces from a directional print, trace one finished patch onto plain paper and cut out the center. Slide the paper over your fabric until you like what you see through the opening. The window shows what will remain visible after sewing. Use the pattern’s cutting measurements, including its seam allowances, when you make the actual cut.
Check the layout before joining the rows
Holiday prints can look evenly mixed in a stack and unexpectedly clump together in a quilt. Lay out the sections in the order shown in the pattern, then take a photo from the doorway. Look first for large pools of color. If all the bright reds have landed at one end, try exchanging two sections of the same size and orientation. Take a second photo and choose the arrangement you like best.
When it’s time to carry everything to the machine, pin a small numbered slip of paper to the first piece of each row. Leave your layout photo handy. Those simple markers are especially welcome when you put your sewing away for the evening and come back the next day.
Try a few quilting threads on scraps from both the lightest and darkest fabrics. A strand of cream can almost disappear into a snowy background and draw a bright line across a pine-green patch. Stitch a short sample with your chosen batting so you can see the actual effect. For the label, a date and a detail as simple as “The holly fabric came from our first Christmas stockings” can preserve a story the fabric alone can’t tell.
Download the free Christmas quilt pattern
Ready to pull out your Christmas fabrics? Download the free PDF below and check the finished dimensions and fabric requirements before making your first cut. It’s a good moment to see which pieces you already have tucked away for just this project.
If you have a few favorite scraps left on the cutting table, piece them into a narrow band for the back. A single row is enough to give that last little reindeer or pair of mittens a home. Position the band well inside the area that will become the finished quilt so those details survive the final trim.
Download the free Christmas quilt pattern
For the binding, fold a strip of fabric to the width that will show on the finished edge and lay it around one corner. A red-and-cream stripe can look quite bold on the bolt, yet only a few small marks of red may show once it’s folded. Try the strip against both the front and the backing, especially if the two sides have different colors.
If the quilt is a Christmas gift, save one small square of fabric before you clear away the scraps. Fold it around a handwritten care card and tuck it under the ribbon. Years from now, if a well-loved corner needs a patch, the recipient will already have a little piece of the original Christmas fabric.