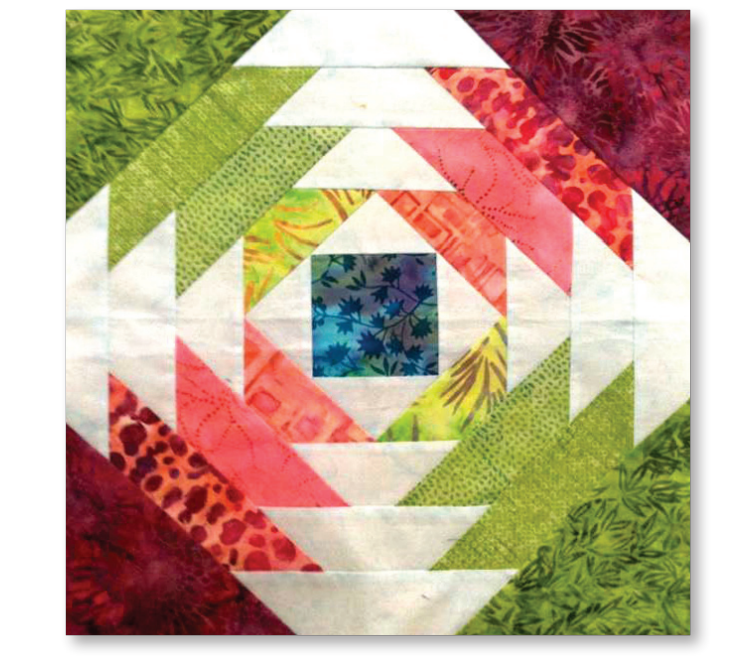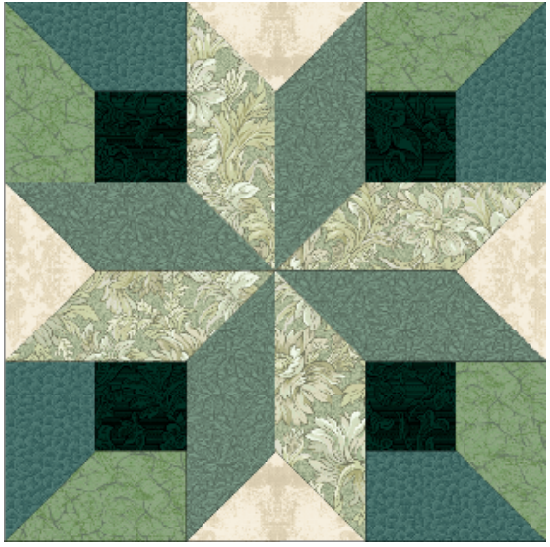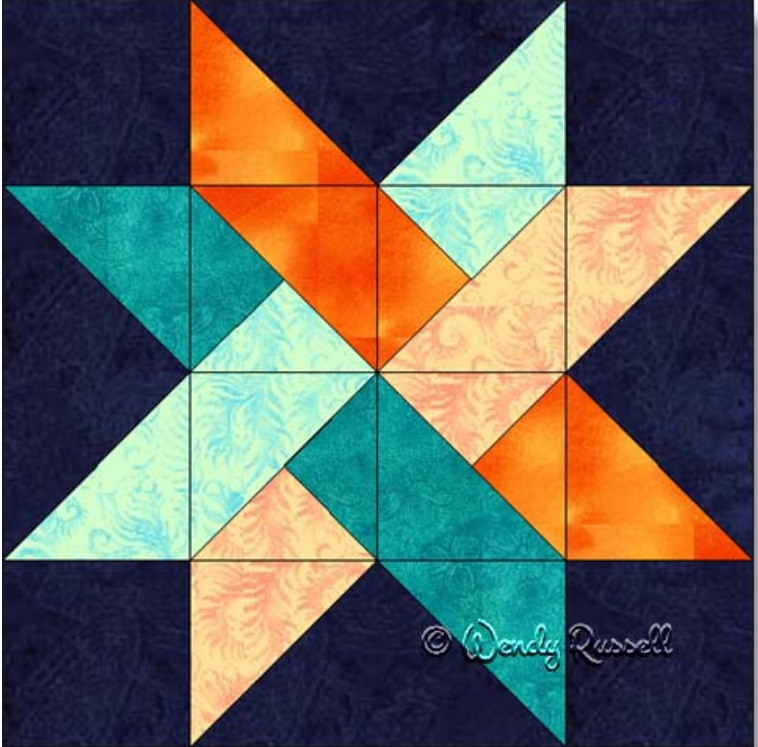
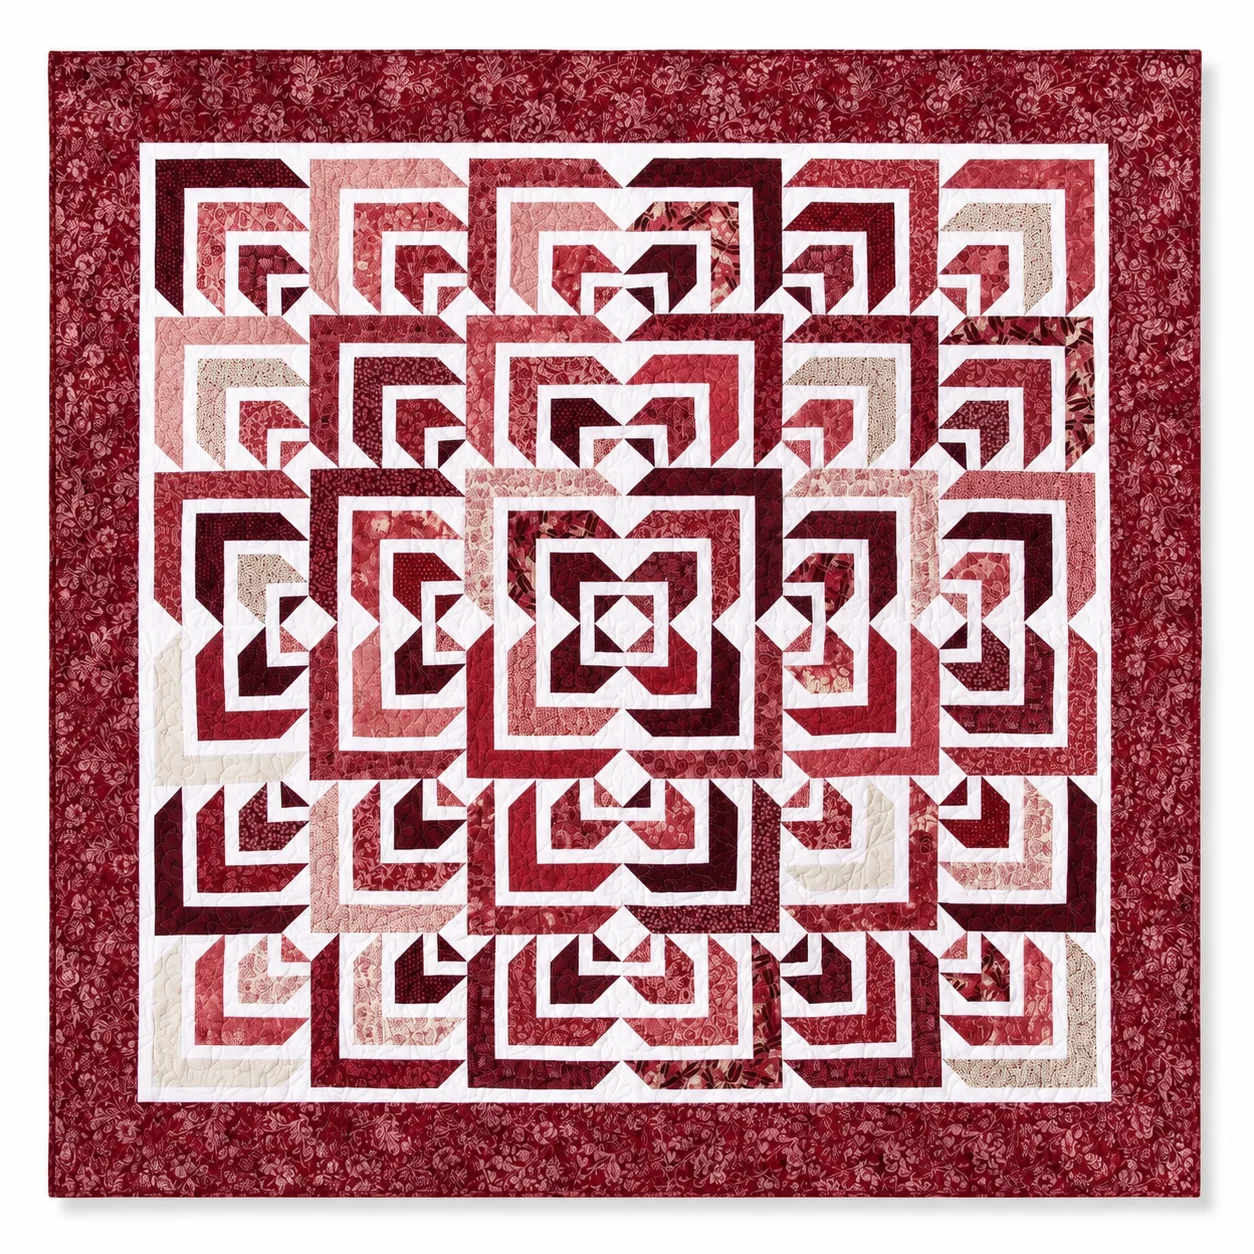
The Wonder Star quilt pattern brings together nested angles, narrow white bands, and a striking central diamond. Its repeating shapes create movement across the quilt, while a generous outer border gives the patchwork a clear frame. In blue, gray, and deep charcoal, the design has a calm palette with enough contrast to make the individual points stand out.
Much of that visual complexity comes from rotating the same block. Once you understand the construction, you can repeat it in different fabrics and arrange the blocks to build the larger design. Our free printable companion PDF, available at the end of this article, includes the cutting charts, block diagrams, and complete layout map.
Working in small batches can make the Wonder Star quilt pattern more manageable. After completing your practice block, choose a few blocks and sew the same construction stage on each before moving forward. Keep their printed pairs together as you work. This approach reduces repeated trips between the sewing machine and ironing board while making it easier to notice a misplaced strip early.
Careful pressing helps the narrow white bands remain straight and the blocks lie flat. Set each seam with the iron before gently pressing the fabric open, lifting the iron instead of sliding it across the patchwork. Where practical, press seam allowances toward the darker fabric to reduce shadows beneath the white strips. Let each unit cool flat before measuring or adding the next pieces.
Project Size and Skill Level
| Project detail | Measurement or description |
|---|---|
| Nominal finished quilt size | 80″ × 80″, approximately 203 × 203 cm |
| Unfinished block size | 11½″ × 11½″, including seam allowances |
| Finished block size | 11″ × 11″ |
| Layout | 36 blocks arranged in six rows of six |
| Skill level | Confident beginner to intermediate |
| Seam allowance | ¼″ unless otherwise specified |
The unquilted top measures 80½″ square, including its outer seam allowance. Quilting and finishing can change the final measured size slightly.
Materials for the Wonder Star Quilt
For the cutting plan in our companion PDF, gather:
- One roll of forty 2½″ printed fabric strips, plus four additional 2½″ strips reserved from the outer-border fabric.
- One roll of forty 1½″ white fabric strips, including the inner border.
- 252 white squares measuring 2½″, or 1¼ yards of white fabric to cut your own.
- 1¾ yards of outer-border fabric, including the four supplemental printed strips.
- ¾ yard of binding fabric.
- 2½ yards of 108″-wide backing fabric, or 7½ yards of regular-width backing fabric.
- Batting measuring at least 90″ × 90″ for this plan.
- A rotary cutter, cutting mat, quilting ruler, marking pencil, pins, thread, and sewing machine.
The strip allocations require at least 40″ of usable fabric length after removing selvages. Check your precuts before cutting and allow additional fabric for shorter strips, shrinkage, or matching directional prints. The PDF explains how to reserve fabric for the borders before cutting the block pieces.
How the Block Is Built
Each block begins with a small half-square triangle, or HST. Alternating pairs of narrow white strips and wider printed strips then build outward along two sides. White squares added with the stitch-and-flip method create the angled ends of the printed bands.
Keep the two strips in each printed pair together so they form a continuous-looking angle. You can use a different print for each of the three pairs, giving the block variety while preserving its structure.
Follow this construction sequence alongside the PDF diagrams:
- Make the starting HST. Place one white and one printed 2½″ square right sides together. Sew directly on a marked diagonal, trim the unwanted corner with a ¼″ seam allowance, and press open. This method produces one 2½″ unit.
- Add the first white and printed pairs. In the base orientation, attach each shorter strip to the left, followed by its longer partner across the top.
- Shape the printed corners. Add a white 2½″ square at the upper-right and lower-left corners using the stitch-and-flip method.
- Repeat the sequence. Continue with the second and third white and printed pairs, adding two white corner squares after every printed pair. The completed block should measure 11½″ square.
- Arrange and join the blocks. Use the layout map to position all 36 blocks, then sew them into rows before joining the rows together.
Choosing Fabrics That Keep the Shapes Clear
Contrast helps the narrow white bands remain visible. Combine medium blues and grays with a few darker prints, and spread those darker fabrics across the quilt. Very pale prints can soften individual sections, so check their placement against the white background before sewing.
Small florals, mottled batiks, and subtle textured prints can add interest within the angled strips. For a different palette, try burgundy and rose or forest green and sage, keeping a consistent light background. A quick photograph of the arranged blocks can help you assess the balance of light and dark areas.
Preserve the Points and Check the Layout
When adding each white corner square, align it with the unit’s outside raw edges. The square extends approximately ¼″ beyond the existing print-to-white seam. This overlap helps preserve the printed point when neighboring pieces are sewn together. Follow the enlarged corner diagram and check the fold before trimming away fabric.
Make one practice block before cutting the full set. Measure it at the intermediate checkpoints, then compare your completed blocks with the orientation map. The quilt uses nine blocks in each of four directions, with the small HST corners of the four central blocks meeting at the center.
More Tips for Sewing and Planning
Organizing your pieces before sewing makes the Wonder Star quilt pattern easier to follow. Use separate trays or labeled bags for the inner, middle, and outer printed pairs, keeping each shorter strip with its matching longer strip. Store the white rectangles by length and keep the corner squares in a separate container. This simple preparation helps prevent similar-looking pieces from being sewn in the wrong order.
Consistent seam allowances matter because small differences accumulate as the block grows. Measure your practice block at each checkpoint in the PDF, rather than waiting until the final round. If a unit is too small or too large, check the seam allowance, cutting accuracy, and pressing before continuing. Correcting the first uneven stage helps you avoid trimming away the seam allowance needed to preserve the printed points.
Directional fabrics deserve a little extra planning in this design. Flowers, leaves, or other recognizable motifs will turn as the completed blocks are rotated into their four orientations. If you want the prints to look balanced from several viewing angles, choose scattered motifs or fabrics without an obvious upright direction. Lay out any strongly directional prints before sewing so you can see how they will appear across the finished quilt.
Your quilting stitches can emphasize the angular patchwork or introduce a softer texture. Lines that echo the printed bands can draw attention to the nested shapes, while gentle curves can complement the sharper corners. Try sketching a few quilting paths on a printed layout before choosing your approach. Keep the quilting density reasonably consistent across the center and borders, and follow the spacing requirements for your batting.
If you plan to display this quilt on a bed, check how its approximately 80-inch square size will sit on your mattress before making changes to the pattern. Consider the amount of overhang you prefer and whether the quilt will cover the pillows. The central arrangement is an important part of the design, so any size adjustment should preserve its balance and include a fresh calculation of border fabric, backing, batting, and binding.
Finish the Quilt and Download the PDF
The pieced center finishes at 66″ square. A white border finishing at 1″ wide and an outer border finishing at 6″ wide bring the design to its nominal 80″ size. Measure your assembled center before cutting border lengths, and follow the PDF’s straight-join instructions to stay within its fabric allocation.
The Wonder Star quilt offers a satisfying way to turn a coordinated strip collection into a large geometric design. Take time with the first block, keep the printed pairs organized, and check each rotation before joining the rows.
Download the free Wonder Star companion PDF below for the complete materials list, cutting plans, step-by-step block diagrams, corner detail, and 36-block layout. Measurements and quantities in the companion were checked digitally; it has not yet been test sewn.
Wonder Star Quilt Pattern with Free PDF
A flat border begins with careful measuring and even attachment. Cut opposite borders to matching lengths based on the measured quilt center, then mark the centers and quarter points on both the border strips and the quilt top. Match these marks before distributing the remaining fabric between them. Supporting the quilt’s weight while sewing helps prevent the edges from stretching and developing waves.
Save useful fabric remnants until the quilt is completely finished. A small piece may help with an unexpected repair, while larger leftovers can become a coordinating label or a decorative detail on a pillow. Adding the completion date and a short message to the quilt’s label gives the finished project a personal record, especially when it is intended as a gift.