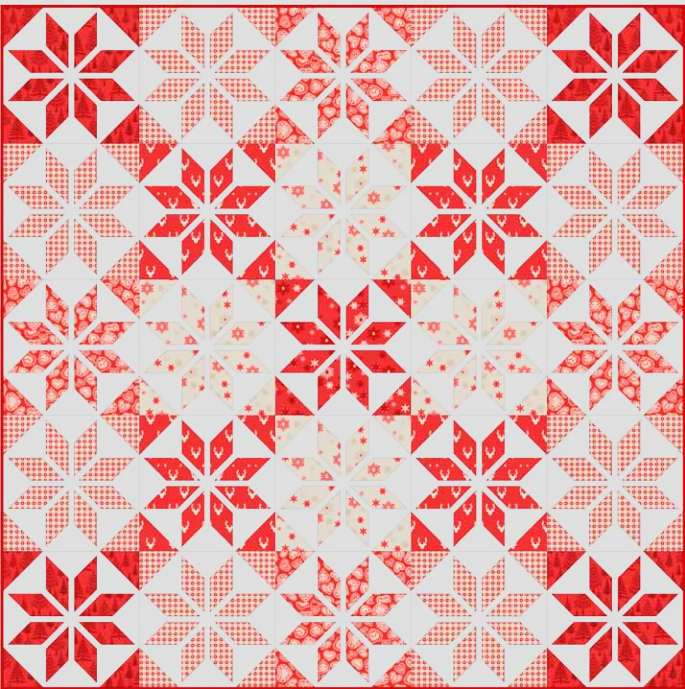
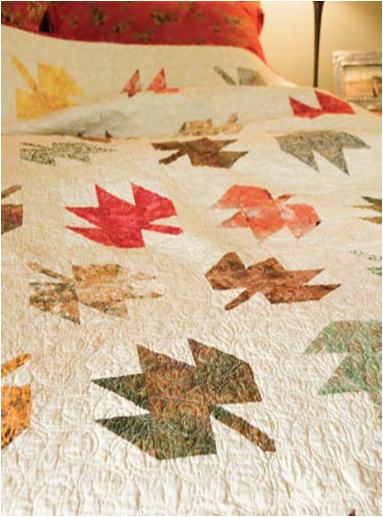
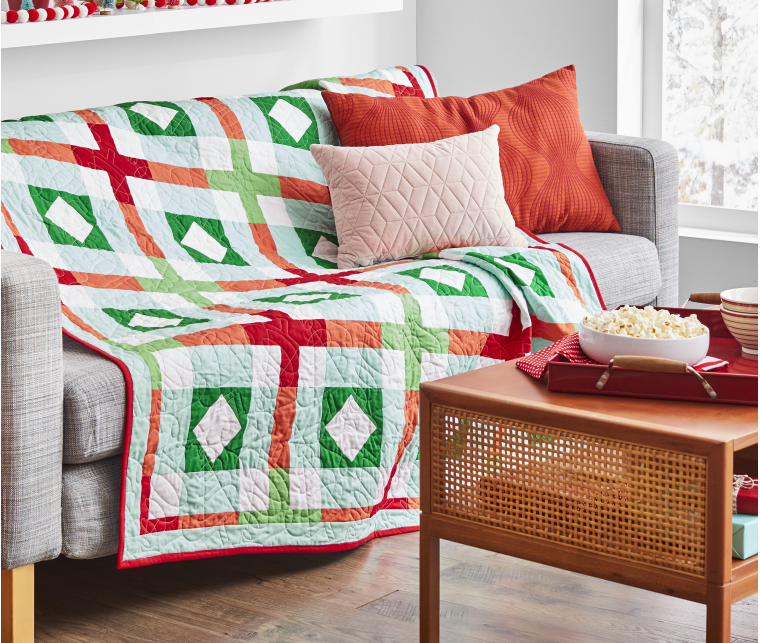
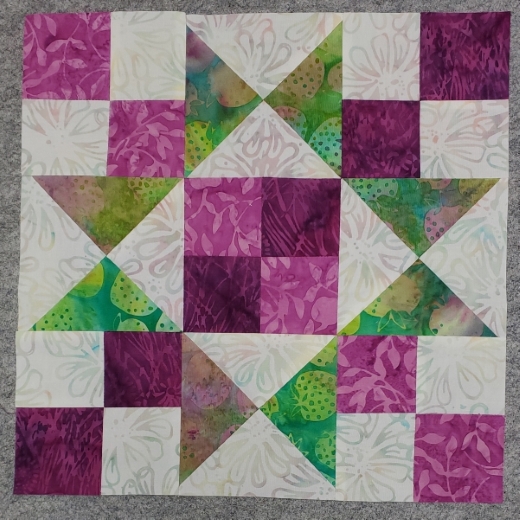
At the heart of the Scandi quilt pattern lies simplicity. Unlike some complex quilt designs, Scandi quilts typically embrace straightforward piecing techniques, making them ideal for quilters of all skill levels. Basic shapes are arranged in repeating patterns, creating a sense of symmetry and balance that is both visually pleasing and calming.
Cut the fabrics as stated in the above table and then cut the A-F fabrics as follows:
• A, C, D and E: cut thirty-two 2 ½” 45 degree diamonds from the 2 ½” strips and sixteen 4”
squares from the 4” strips;
• B: cut sixty-four 2 ½” 45 degree diamonds from the 2 ½” strips and thirty-two 4” squares from
the 4” strips; and
• F: cut eight 2 ½” 45 degree diamonds from the 2 ½” strips and four 4” squares from the 4”
strips.
NB: Cut the diamonds by making 45 degree cuts 2 ½” apart along the length of the 2 ½” strips as
shown in the diagram below.

The Scandi quilt pattern offers a delightful blend of simplicity, symmetry, and charm that captures the essence of Nordic design. Whether you’re drawn to its clean lines, soothing color palette, or whimsical motifs, creating a Scandi quilt is sure to be a gratifying experience. So gather your fabrics, embrace the hygge spirit, and embark on a quilting journey that celebrates the timeless beauty of Scandinavian style.
Making the Quilt Top
1. You will make twenty-five blocks – four A, C , D and E blocks, eight B blocks and one F block.
2. To make each block, lay out the eight 2 ½” diamonds, the eight 4” and eight 4 ½” Linen Texture squares as shown in the diagram opposite.
3. First sew the 4” triangles to the side of each diamond, press seams as preferred then trim away excess fabric.
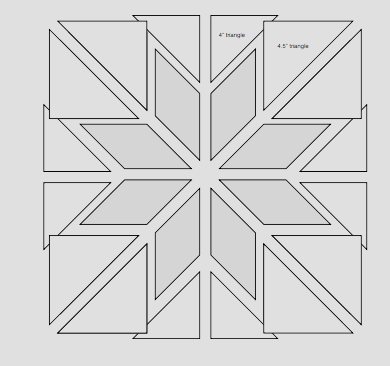
4. Then sew the 4 ½” triangles to the piece made at step 3 above, press seams and trim away excess fabric. NB: half the pieces will be made as shown in the three images on the left and half as shown in the three images on the right.

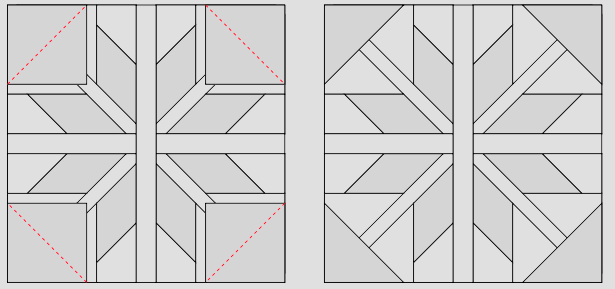
5. Sew the triangles made at 4 above into pairs sashing them together using the 1” x 10” Linen Texture fabric strips. Trim each square to 6 ¼” square by trimming away excess fabric as shown in the diagram below.

6. Sash the squares made at 5 above into pairs using the 1” x 6 ¼” linen texture strips then sash those pieces together using the 1” x 12 ½” linen texture strips. Press seams after each step.

7. Draw a diagonal line on the back of four of the 4” print fabric squares. Place each square right sides together with one corner of the block and sew along the diagonal line. Trim away excess fabric beyond the ¼” square allowance and press the triangle over to add the four corners of each block.
8. Sew the blocks into five rows of five following the layout in the quilt image. Press seams in alternate directions in each row then sew the five rows together to finish the quilt top.
Finishing the quilt
1. Sew the two pieces of backing fabric together along the long sides using a ½” seam. Press that seam open.
2. Sew the binding strips end to end using diagonal or straight seams as preferred and press wrong sides together along the length to make a double fold binding.
3. Make a quilt sandwich, basting together the quilt back, the wadding and the quilt top.
4. Quilt as desired then trim the quilt square, removing excess wadding and backing. I quilted a diagonal cross hatch of lines approximately 2” apart using a cream thread on the front and back.
5. Bind the quilt taking care to mitre the corners.
Explore the complete Scandi quilt pattern in detail by clicking the link below to view the PDF. Dive into the world of Nordic-inspired design and begin your quilting adventure today
PATTERN PDF
The Scandi quilt pattern offers a delightful blend of simplicity, symmetry, and charm that captures the essence of Nordic design. Whether you’re drawn to its clean lines, soothing color palette, or whimsical motifs, creating a Scandi quilt is sure to be a gratifying experience. So gather your fabrics, embrace the hygge spirit, and embark on a quilting journey that celebrates the timeless beauty of Scandinavian style.
