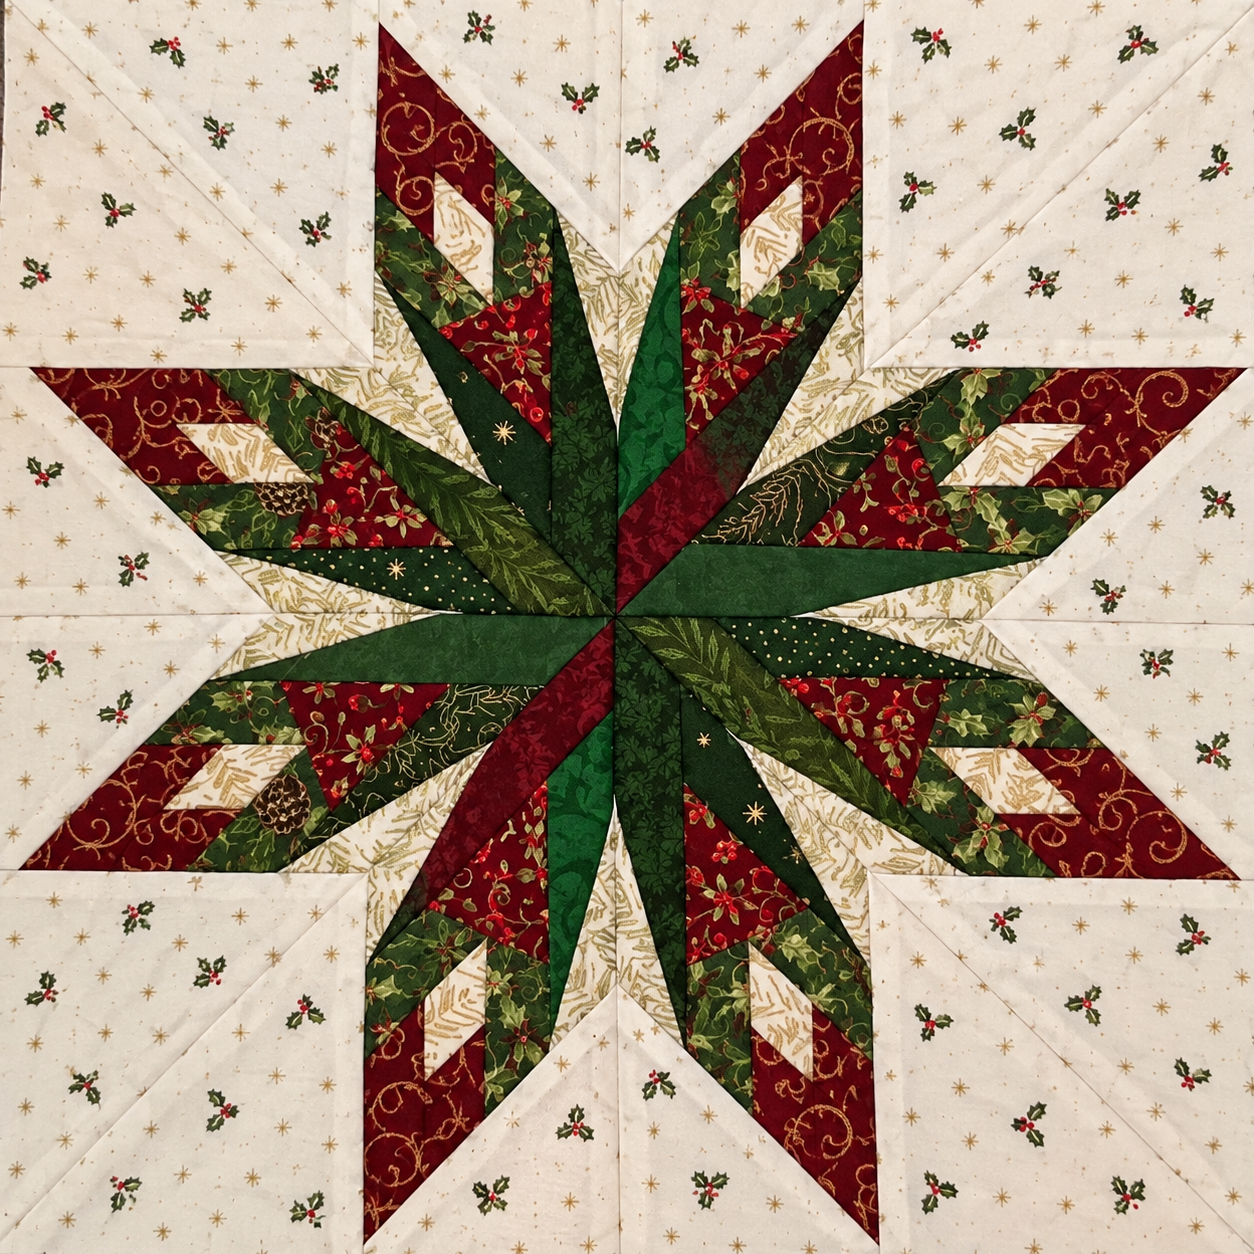
The Christmas Star Quilt Block Pattern brings together eight pointed arms, rich green layers, and small cream-and-gold centers. Red fabric gives the outer tips a festive finish, while an ivory background makes the star stand out. It is a striking block for a holiday sewing project, especially when you choose prints with small floral or metallic details.
The free PDF at the end of this article includes a cutting chart, numbered diagrams, assembly instructions, and printable foundation paper-piecing templates. This version finishes at 12 inches square and is assembled from eight individual sections.
Organizing your fabrics before sewing can make the Christmas Star Quilt Block Pattern easier to follow. Attach a small fabric swatch beside each letter in the color key, then sort your cut pieces into labeled groups. Keep the A and B foundations in separate stacks. This simple preparation helps prevent color-placement mistakes when several green prints look similar under your sewing-room lighting.
This block also offers a way to use treasured holiday scraps. You can vary the red prints between star points while keeping the cream centers and dark-green fabrics consistent. That repetition gives the block a unified appearance even when the prints change. Check each scrap against its required cutting measurement, and avoid stretching a piece to make it cover a foundation section.
What Gives This Block Its Layered Look?
Each star point combines a small light center with red and green patches. Narrow pale-green wedges separate the darker layers, helping the individual shapes remain visible. The deep greens meet in the middle to create a strong center.
Fabric value matters as much as color here. Choose pale green that looks noticeably lighter than your two dark greens. If all three fabrics are similar in value, the narrow wedges can disappear into the surrounding patchwork.
Pattern Details
- Finished block: 12 × 12 inches.
- Unfinished block: 12½ × 12½ inches, including seam allowances.
- Seam allowance: ¼ inch.
- Skill level: Confident intermediate.
- Technique: Foundation paper piecing, or FPP.
- Construction: Four A sections and four mirrored B sections.
This downloadable version is a reconstruction of a reference photograph, with measurements calculated for a 12-inch block. It has not been physically test-sewn. Make one A/B pair before cutting all your project fabrics.
Materials You Will Need
Gather the following fabrics for one block:
- ½ yard of ivory background fabric.
- One fat quarter each of red, green, and pale green.
- One fat eighth each of two dark-green fabrics.
- One 6 × 10-inch scrap of cream or gold fabric.
You will also need a sewing machine, thread, thin foundation paper, a printer, rotary cutter, cutting mat, quilting ruler, pins, and an iron. These fabric quantities allow for the generous starting pieces in the PDF; set aside additional scraps for a practice section.
Small, nondirectional prints work well because the pieces face different directions around the star. Save larger motifs for a coordinating border or backing where more of the print will remain visible.
How to Assemble the Christmas Star Quilt Block
1. Print and check the templates. Print four copies of foundation A and four copies of foundation B at Actual Size or 100%. Measure the test square before sewing. The templates are already mirrored for working from the paper side.
2. Prepare your fabric pieces. Follow the PDF cutting chart. These measurements produce starting rectangles with extra room for placement; the printed foundation lines determine the final patch shapes.
3. Sew each numbered section. Begin with patch 1 and continue through patch 12. Check that each new fabric piece covers its intended area and seam allowances when folded open, then stitch, trim, and press.
4. Join the A/B pairs. Match the long diagonal joining edges to create four square quadrants. Each completed quadrant should measure 6½ inches square before it is joined to its neighbors.
5. Complete the star. Rotate the quadrants so their center points meet. Sew the upper pair and lower pair, then join the two halves. Press carefully and check that the unfinished block measures 12½ inches square.
Keep the full PDF beside your sewing machine for the color key, seam placement, and detailed assembly instructions.
Ideas for Your Finished Block
A single star can become the center of a small wall hanging or a pillow front with added borders. Repeated blocks also offer possibilities for a table runner or a larger seasonal quilt.
For a different mood, try burgundy and forest green with a warm cream background. Blue, silver-gray, and navy can give the same shapes a winter feel. Keep a clear difference between the light wedges and dark center fabrics in either palette.
Ready to plan your fabrics? The seven-page PDF includes the fabric requirements, cutting measurements, colored placement diagrams, sewing instructions, and two full-size foundation templates.
Download the free PDF below, check the printing scale, and begin with one practice A/B pair.
Christmas Star Quilt Block Pattern | Free PDF
Give the center intersection a little extra attention during assembly. Before joining the two block halves, place a pin through the marked meeting point on both sides and check that the surrounding seams line up. After sewing, inspect the front before removing the remaining foundation paper. Correcting a shifted intersection at this stage is easier than trying to disguise it with pressing or quilting later.
When choosing a border, consider how much space you want around the star. A border that repeats the ivory background can make the points appear to float, while a contrasting red or green border creates a more defined frame. Preserve the quarter-inch seam allowance beyond the outer points when attaching it. Once the project is layered, quilting that follows selected star edges can emphasize the angular design.