Zebra in the Nursery Quilt Free Pattern

Decorating a nursery is an exciting journey for expecting parents, and what better way to add a touch of wild charm than with the “Zebra in the Nursery” quilt pattern? This delightful and unique design brings a sense of adventure and whimsy to your baby’s haven, making it the perfect addition to the Baby Patterns category on the Quilt Missouri Tutorials website.

The “Zebra in the Nursery” quilt pattern is a visually striking and versatile design that combines simplicity with a touch of the exotic. Featuring adorable zebra silhouettes set against a backdrop of soft, complementary colors, this quilt is sure to capture the attention of both parents and little ones alike.

A speedy baby quilt featuring soft pastel hues is sure to bring comfort to any new mother welcoming a precious little one. The inclusion of stripe fabric in each square lends a contemporary touch to the quilt, while the varied sizes of quilted circles throughout impart a cozy and playful atmosphere.
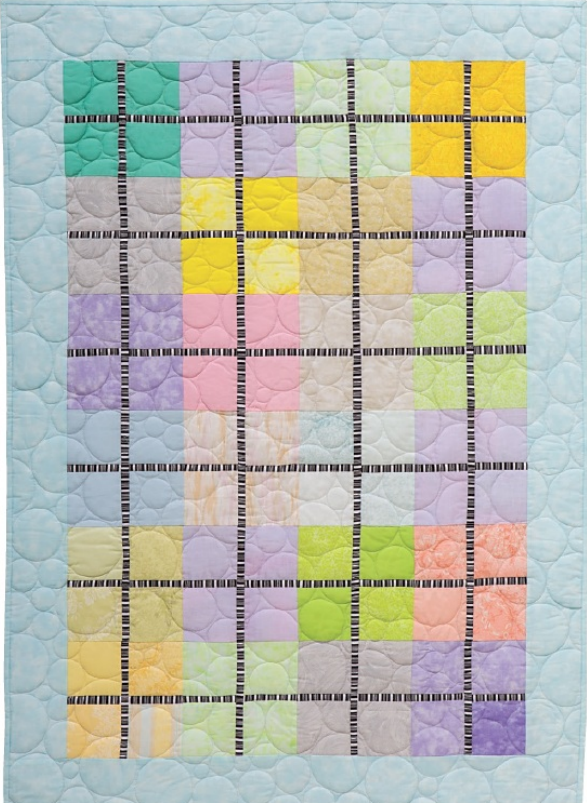
Zebra in the Nursery Quilt Free Pattern

MATERIALS

The yardage is calculated based on 42˝-wide fabric.

  • Pastels: 12–24 different fabrics, ¼ yard each
  • Stripes: ½ yard
  • Light Turquoise: ⅝ yard
  • Binding: ½ yard
  • Backing: 43˝ × 57˝
  • Batting: 43˝ × 57˝

CUTTING

(WOF = width of fabric)

Pastels

  • From each fabric: Cut 1–2 squares 7½˝ × 7½˝, totaling 24 pastel squares.

Stripes

  • Cut 6 strips 1˝ × WOF; subcut into 48 strips 1˝ × 5˝.
  • Cut 6 strips 1˝ × WOF; subcut into 24 strips 1˝ × 8½˝.

Light Turquoise

  • Cut 4 strips 4˝ × WOF.

Binding

  • Cut 5 strips 2¼˝ × WOF.

Construction

Refer to Getting Started as needed. Seam allowances are ¼˝ unless otherwise noted.

MAKE THE BLOCKS

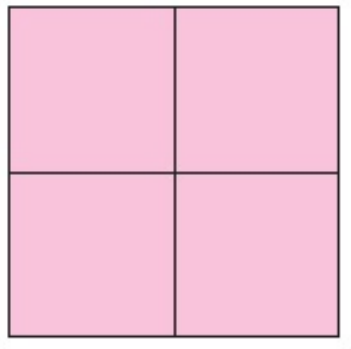
Where to slice the squares
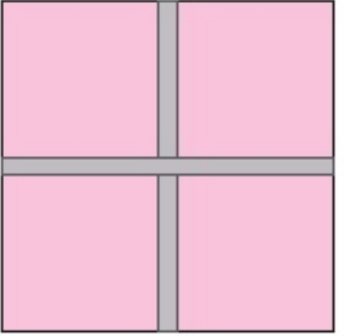
Finished block

Using the Slicing with a Ruler technique, cut all the blocks in half horizontally at the 3¾˝ line. Without moving the sliced block, cut the block again vertically at the 3¾˝ line.

TIP: It’s crucial to keep each sliced block with its other quarters. If there is a design in the fabric, this maintains the fabric design placements together and keeps the design in the correct orientation.

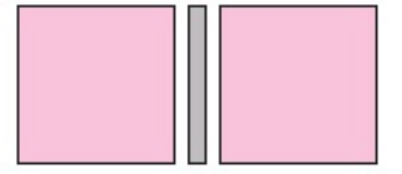
Center and sew a 1˝ × 5˝ strip between the top 2 quarters of a sliced square. Center and sew another 1˝ × 5˝ between the bottom 2 quarters of the sliced square. Trim the edges even with block edges.

Sew strip between quarters of sliced block.

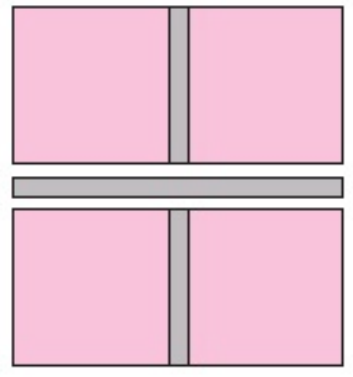
Center and sew the 1˝ × 8½˝ strip between these units from Step 2. Trim the edges even with the block edges.

Sew block together.

ASSEMBLE THE QUILT TOP

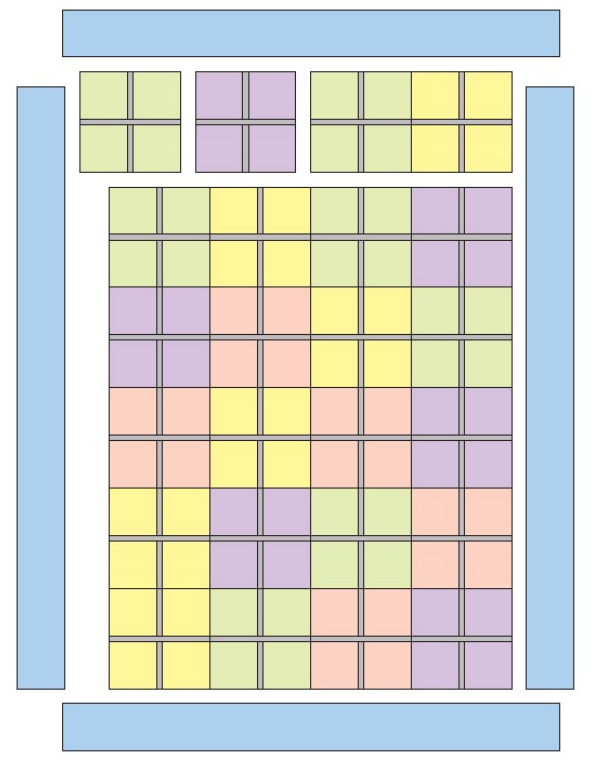
  1. Following the quilt layout diagram, arrange the blocks for the quilt center.
  2. Sew the blocks into rows. Press the seams in alternate directions from row to row. Then join the rows.
  3. Sew the light turquoise 4˝ × WOF strips together end-to-end. Cut 2 strips 4˝ × 42½˝. Sew these to the sides of the quilt.
  4. From the remaining pieced border strip, cut 2 strips 4˝ × 35½˝. Sew these to the top and bottom of the quilt.

FINISH

Refer to Quiltmaking Basics: How to Finish Your Quilt as needed. Layer, quilt, and bind as desired.

Quilt layout

The “Zebra in the Nursery” quilt pattern is a delightful addition to the Quilt Missouri Tutorials Baby Patterns category, offering a perfect blend of style and playfulness. Whether you’re a seasoned quilter or a novice, this pattern provides a fantastic opportunity to create a one-of-a-kind masterpiece that will be cherished for years to come. So, dive into the world of quilting and bring a touch of the wild to your baby’s haven!

Leave a Reply

Your email address will not be published. Required fields are marked *