Just A Square Traditional Quilt Pattern

In the rich tapestry of quilting traditions, the “Just A Square” pattern stands out as a testament to simplicity and elegance. This timeless design has been cherished by quilters for generations, offering a perfect blend of ease and beauty. In this tutorial, we’ll explore the artistry behind creating a “Just A Square” quilt, celebrating the charm and versatility of this classic pattern.

Originating from the heart of traditional quilting, the “Just A Square” pattern encapsulates the essence of simplicity. Quilters, inspired by the desire to create a quilt that is both visually striking and easy to make, designed this pattern. The square, a symbol of balance and stability, takes center stage, forming the foundation of this enduring design.

This project is an excellent way to utilize fabric scraps. To assemble the quilt, I delved into my scrap box, which housed pre-cut 5½˝ × 5½˝ squares. From this collection, I carefully selected red and blue squares with similar values. These squares, with two diagonal corners sliced off, became the canvas for this engaging project. The 1˝ strip was seamlessly sewn into these slices, creating a dynamic alternation of red and blue squares.
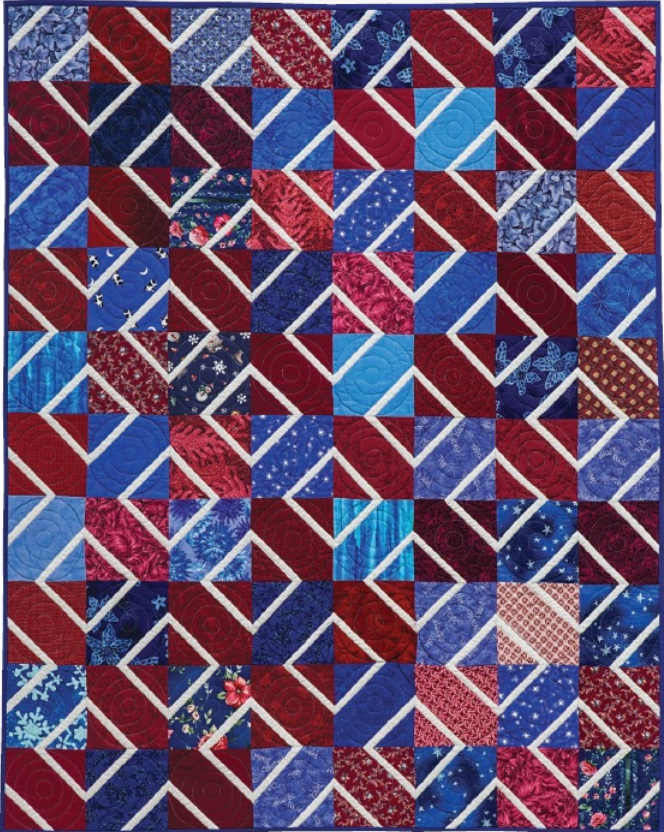
Just A Square Traditional Quilt Pattern

Finished Block: 5˝ × 5˝ • Finished Quilt: 40˝ × 50

Materials: Yardage is based on 42˝-wide fabric.

  • Reds: 6 different fabrics, ⅓ yard each
  • Blues: 6 different fabrics, ⅓ yard each
  • White: 1 yard
  • Binding: ⅜ yard
  • Backing: 48˝ × 58˝
  • Batting: 48˝ × 58˝

Cutting: WOF = width of fabric

Reds

  • From each red fabric: Cut 1 strip 5½˝ × WOF; subcut into 7 squares 5½˝ × 5½˝. (Total of 42 red squares; 40 squares needed.)

Blues

  • From each blue fabric: Cut 1 strip 5½˝ × WOF; subcut into 7 squares 5½˝ × 5½˝. (Total of 42 blue squares; 40 squares needed.)

White

  • Cut 32 strips 1˝ × WOF; subcut into 160 strips 1˝ × 7˝.

Binding

  • Cut 5 strips 2¼˝ × WOF.

Construction: Refer to the “Getting Started” section as needed. Seam allowances are ¼˝ unless otherwise noted.

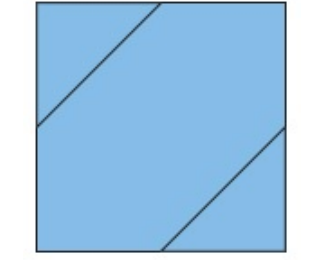
  1. Copy the “Just a Square” pattern to create a template. Following the “Slicing with a Template” technique, use the template taped to the back of a ruler to slice the opposite corners of all the red and blue squares.
Where to slice the square
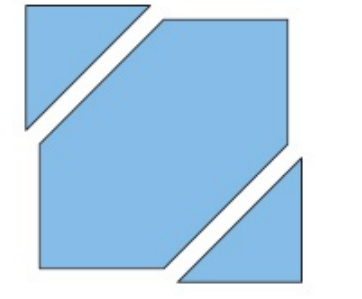
Finished block
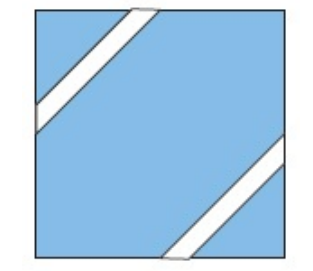
  1. Sew two white 1˝ × 7˝ strips to each sliced side of the red and blue squares. Press and then trim the ends to match the edges of the block.
Opposite corners sliced.
  1. Center the triangles onto the center unit from Step 2 and sew them into position.
  2. Make 40 red blocks and 40 blue blocks.

Assemble the Quilt Top:

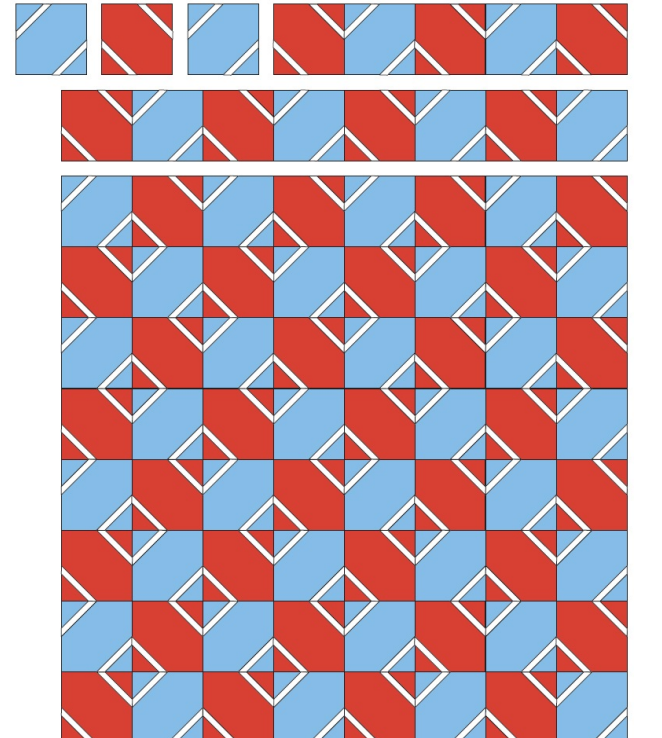
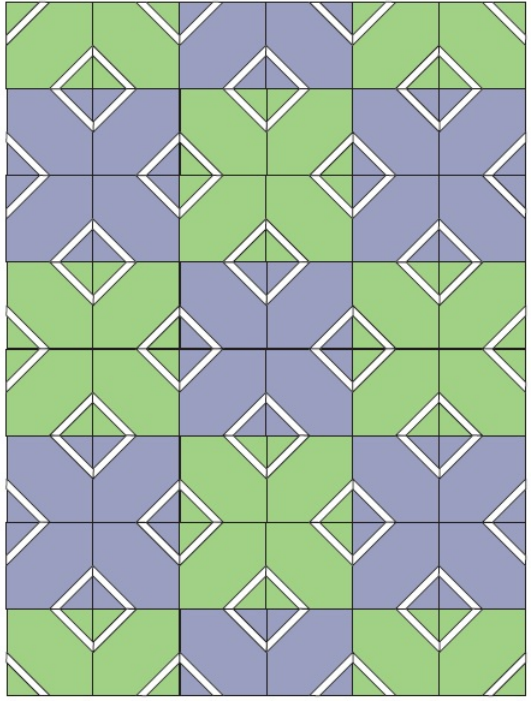
  1. Refer to the quilt layout diagram and arrange the squares accordingly, alternating the red and blue blocks as shown.
  2. Sew the blocks into rows. Press the seams in alternate directions from row to row so the seams will nest when you sew the rows together. Then join the rows.

Finish: Refer to “Quiltmaking Basics: How to Finish Your Quilt” as needed. Layer, quilt, and bind as desired. Enjoy the satisfaction of turning your fabric scraps into a beautiful and engaging “Just A Square” quilt!

Quilt layout

Color Option And Variation:

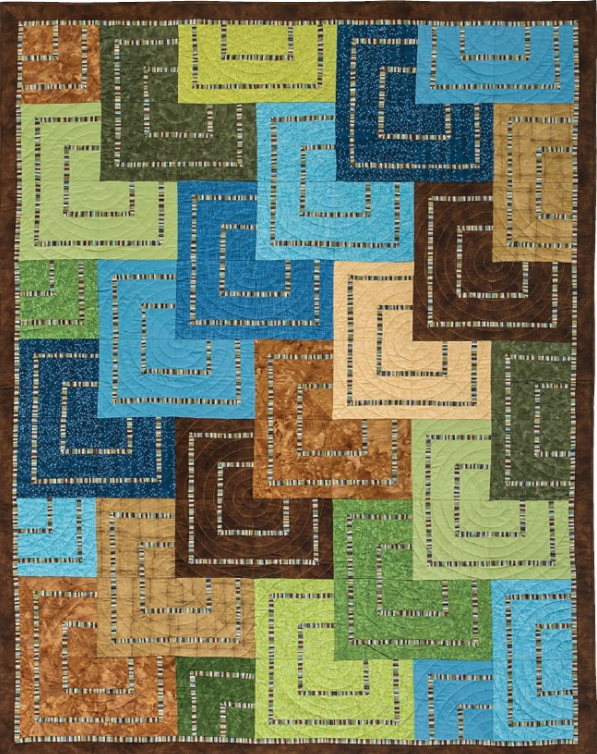
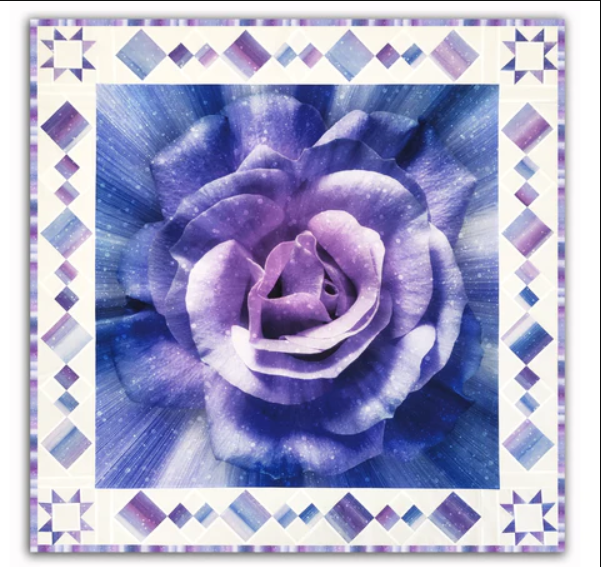
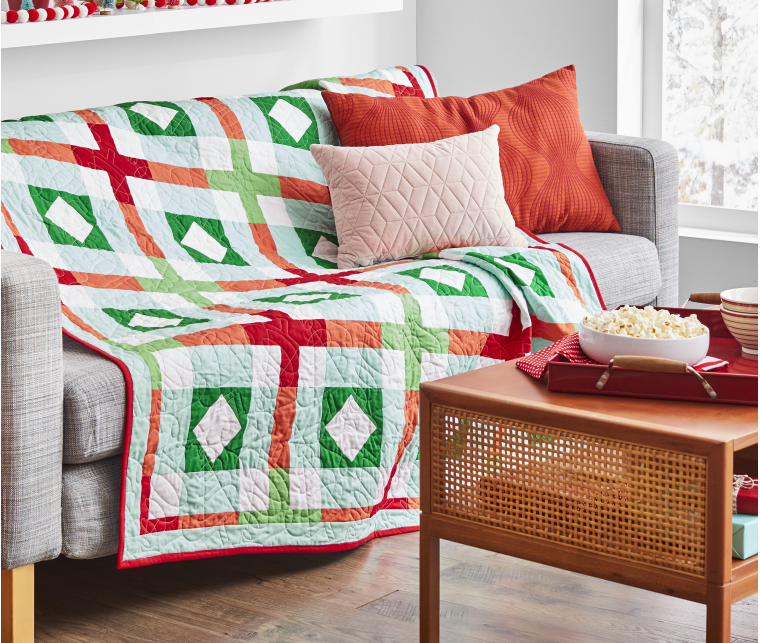
Color Option And Variation

The “Just A Square” traditional quilt pattern invites quilters of all skill levels to embrace the beauty of simplicity. Its straightforward design allows for endless creativity in fabric selection and layout, making it a perfect project for both beginners and experienced quilters alike. As you embark on creating your own “Just A Square” quilt, savor the timeless appeal of this classic pattern and relish in the joy of bringing a piece of traditional quilting history to life. Happy quilting!

Leave a Reply

Your email address will not be published. Required fields are marked *