
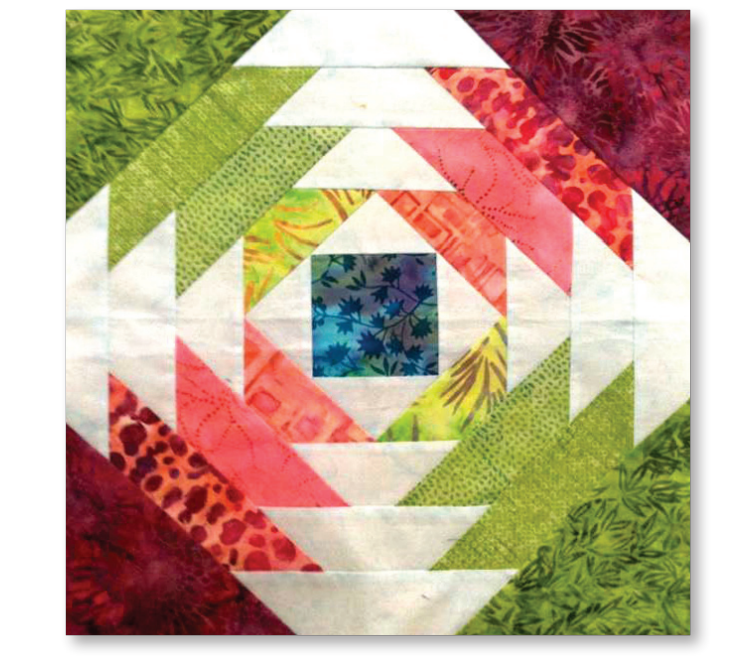
Quilting is a timeless craft that allows individuals to express their creativity and create beautiful, functional pieces of art. If you’re a quilting enthusiast looking to add a touch of tropical flair to your projects, the Pineapple block is the perfect choice.
In this tutorial, we’ll guide you through the process of creating a stunning Pineapple block, showcasing the intricate design that has become a favorite among quilters. So, gather your fabric, sharpen your scissors, and let’s embark on this quilting adventure together.
Materials Needed:
- Fabric of your choice: Select contrasting fabrics for the pineapple and background, ensuring a visually appealing outcome.
- Rotary cutter and cutting mat: Essential tools for precision cutting.
- Quilting ruler: A ruler with clear markings will aid in accurate measurements.
- Sewing machine: Ensure it’s in good working condition.
- Iron and ironing board: Keep your seams crisp and tidy.
- Thread: Choose a thread color that complements your fabric choices.
Step 1: Fabric Preparation
Start by choosing fabrics that contrast well to highlight the intricate design of the Pineapple block. Cut your chosen fabrics into strips, ensuring they are of the same width. The width of the strips will determine the size of the finished block, so choose according to your desired block size.
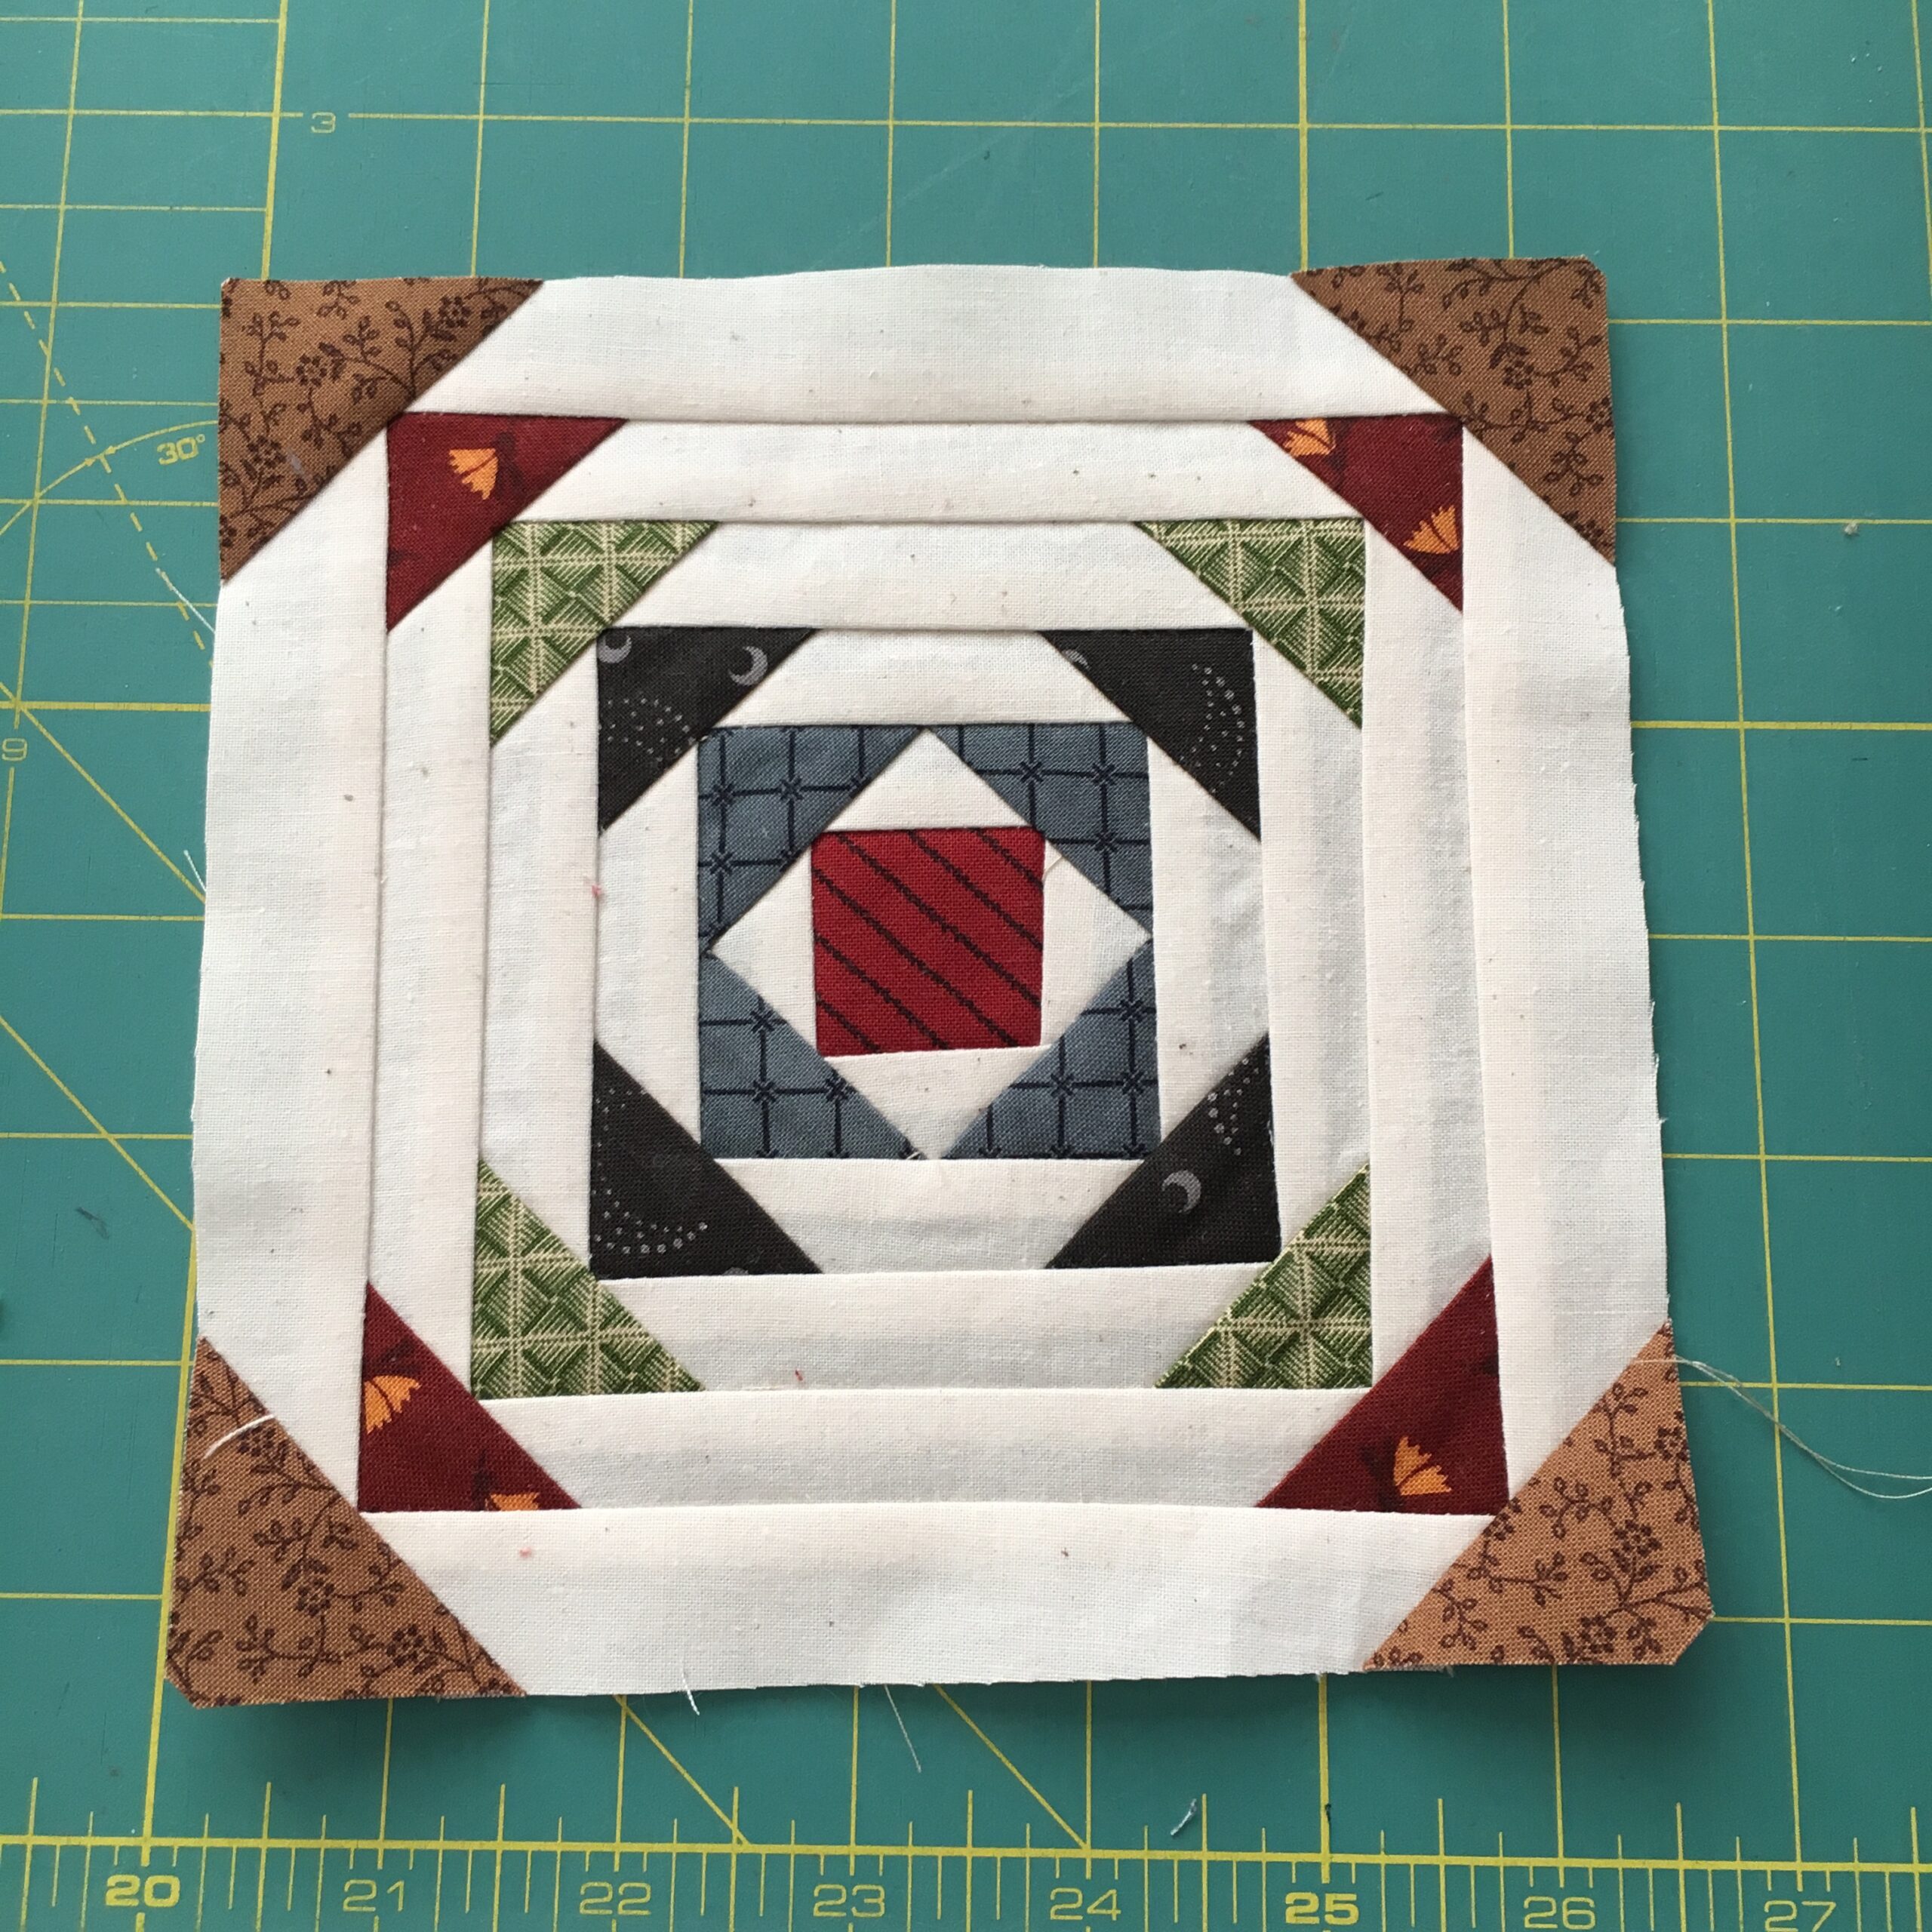
Step 2: Creating the Center Square
Begin by sewing together four strips to form a square for the center of your Pineapple block. This square will serve as the focal point, so feel free to experiment with bold colors or patterns to make it stand out.
Step 3: Adding the First Round
Now, it’s time to build the first round of your Pineapple block. Cut strips of the contrasting fabric and sew them around the center square, ensuring that the corners match. Press the seams outward to create a smooth, flat surface.
Step 4: Building Subsequent Rounds
Continue the process of adding rounds by alternating between the background and pineapple fabric. As you progress, trim excess fabric from the corners to maintain a neat and uniform appearance. The Pineapple block’s characteristic geometric pattern will start to emerge.
Step 5: Finishing Touches
Once you’ve completed the desired number of rounds, square off the block by trimming any excess fabric. Take the time to press your finished Pineapple block to ensure a polished and professional look.
Unlock the secrets of the Pineapple block with our detailed step-by-step tutorial! For your convenience, we have compiled all the instructions, tips, and visuals into a comprehensive PDF tutorial. Click the link below to access the PDF and embark on your quilting adventure with confidence.
Congratulations! You’ve successfully created a stunning Pineapple block that adds a touch of tropical warmth to your quilt. Experiment with different color combinations and sizes to make this block truly your own. We hope this tutorial has inspired you to explore the world of quilt patterns, and remember, the joy of quilting lies in the journey as much as in the finished masterpiece. Happy quilting!

1 Comment
Love your tutorials. Love that you keep us interested and encouraged by providing these patterns. Thank you and your staff.