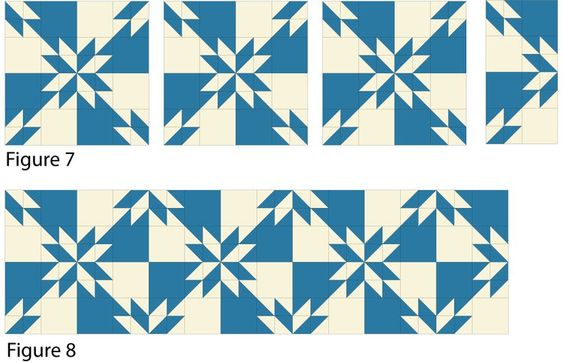
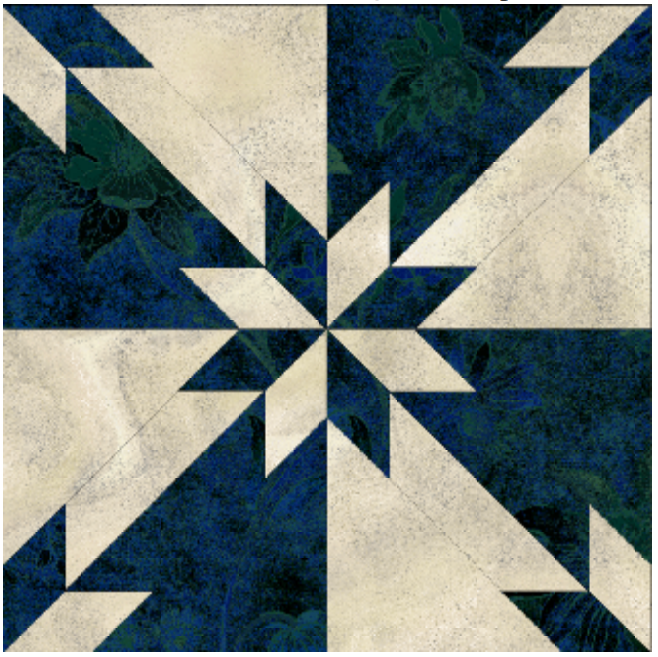
The Hunter’s Star quilt is a striking pattern that combines precision and beauty, perfect for both novice and experienced quilters. In this tutorial, we’ll guide you through creating your own Hunter’s Star quilt using the Magic 8 method for half-square triangles (HSTs). Let’s dive into the materials you’ll need and step-by-step instructions to complete this stunning quilt.
Materials
4 yards dark fabric
4 yards light fabric
1 panel quilt backing (82 x 94 inches)
1 panel quilt batting (82 x 94 inches)
340 inches continuous double-fold binding
Thread for piecing and/or machine quilting
Instructions
Cut the Individual Units
The Magic 8 method for half-square triangle units (HST) is ideal for the Hunter’s Star quilt, even for scrappy versions. Each patchwork section requires eight HSTs. This method is straightforward and ensures the fabric’s sturdy straight grain aligns with the outer edges of your HSTs.
Understand the Magic 8 Method: If you’re new to this method or prefer to make oversized units and trim them, make sure you’re familiar with it. Consider sewing a test set by stitching a scant quarter-inch seam on paired fabrics and measuring the results.
Cutting the Squares: Cut 42 light 7 3/4-inch squares and 42 dark 7 3/4-inch squares. Pair each light fabric square with a dark fabric square to produce eight 3 1/2-inch HSTs per pair, resulting in 336 HSTs total.
Sew the Hunter’s Star Quilt
Arrange HSTs: Grab four HSTs and arrange them into two rows (Figure 1, left). Use straight pins to keep seams from shifting. Pay attention to the triangles’ orientation. Sew the units in each row together and press the seam allowances in opposite directions.
Join Rows: Join the rows and press the seam allowance in any direction (Figure 1, middle). The joined HSTs should measure 6 1/2 inches by 6 1/2 inches.
Add Light Squares: Sew a 6 1/2-inch light square to the right-hand side of the HST patchwork (Figure 1, right). Press the seam allowance toward the plain square. Repeat to make 42 rows with light 6 1/2-inch squares.
Tip
Accuracy is crucial. Measure as you go and correct any issues before assembling more blocks.

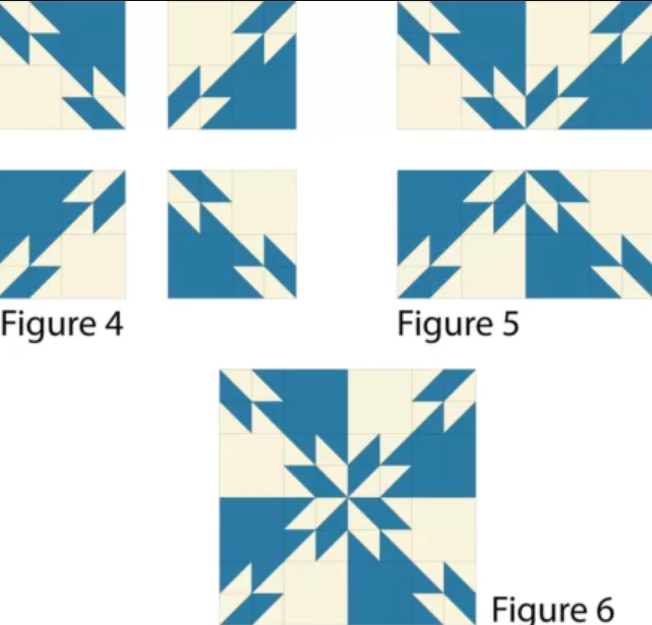
Make the Figure 2 Patchwork Unit
Arrange and Sew HSTs: Arrange four HST units into two rows (Figure 2, left). Sew the units in each row together and press the seams in opposite directions. Join the rows to form a 6 1/2-inch by 6 1/2-inch patchwork unit (Figure 2, middle).
Add Matching Squares: Sew a matching (or scrappy) 6 1/2-inch square to the left side of the patchwork (Figure 2, right). Press the seam allowance toward the plain square. Make 42 patchwork units in this configuration. Join two rows to make a new block measuring 12 1/2 inches by 12 1/2 inches (Figure 3).