Quilting is an art form that dances through time, weaving together tradition and innovation with every stitch. Among the myriad of quilt patterns, the Diamond Dance Runner stands out as a mesmerizing design that adds elegance and charm to any setting. In this article, we’ll delve into the captivating world of the Diamond Dance Runner pattern, exploring its origins, its unique characteristics, and tips for creating your own stunning masterpiece.
Origins and Inspiration
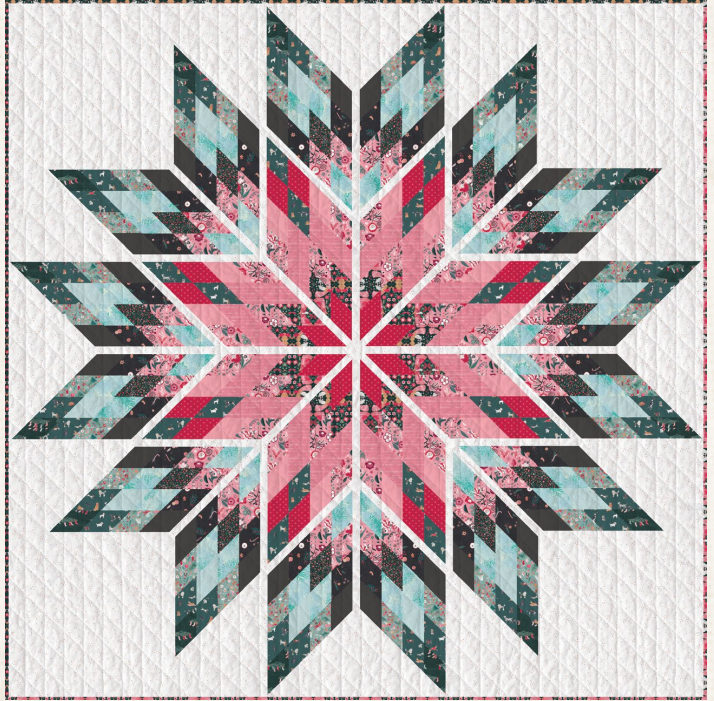
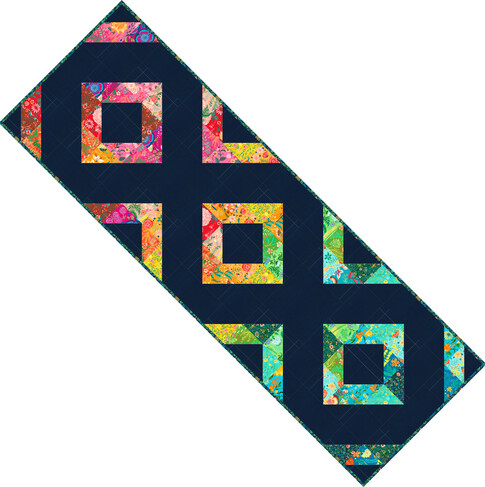
The Diamond Dance Runner pattern draws inspiration from the graceful movements of dancers, capturing the fluidity and rhythm of their motion in a series of intricate diamond-shaped blocks. The pattern’s origins can be traced back to traditional quilting techniques, where geometric shapes were often used to create visually stunning designs.
Over time, quiltmakers have put their own spin on the Diamond Dance pattern, experimenting with color combinations, block sizes, and layout variations to create truly unique works of art. Whether you prefer a classic monochromatic palette or a bold, modern approach, the versatility of this pattern allows for endless creativity and expression.
Characteristics of the Diamond Dance Runner
What sets the Diamond Dance Runner pattern apart is its striking visual impact and deceptively simple construction. At first glance, the pattern may appear complex, with its intricate arrangement of diamond-shaped blocks and dynamic movement across the surface. However, upon closer inspection, you’ll discover that the pattern is constructed from straightforward units such as half-square triangles and rectangles, making it accessible to quilters of all skill levels.
One of the most compelling features of the Diamond Dance Runner pattern is its ability to create the illusion of depth and dimensionality. By strategically placing light and dark fabrics within each block, quiltmakers can achieve a sense of movement and contrast that draws the eye and adds interest to the overall design.
– Read through all of the instructions before beginning.
– All of the seam allowances are 1/4” unless otherwise noted.
– Press seam allowances open unless otherwise noted.
– Width of fabric (WOF) is equal to at least 42” wide.
– Right sides together has been abbreviated to RST.
– Remember to measure twice and cut once!
From Fabric A, cut:
two 8-1/2” x WOF strips. Subcut:
two 8-1/2” squares
eight 4-1/2” x 8-1/2” rectangles
Trim the remainder of the strip(s) to 4-1/2”, then subcut:
four 4-1/2” squares
five 5” x WOF strips. Subcut:
thirty-six 5” squares for the HSTs
one 4-1/2” x WOF strip. Subcut:
eight 4-1/2” squares
From the Binding Fabric, cut:
six 2-1/2” x WOF strips
Step 1: Pair a 5” Fabric A square with a 5” charm square, RST. Mark a diagonal line on the wrong side of one square. Sew 1/4” away from both sides of the marked line. Cut on the marked line, creating two half-square triangles (HSTs). Press toward the darker fabric. Trim to 4-1/2” square. Repeat to make seventy-two HSTs.

Step 3: Arrange the HST Blocks together as indicated in the Assembly Diagram, inserting the Fabric A squares and rectangles as shown. Sew each row or section together, following the piecing method shown in the diagram. Press seams in opposite directions every other row.
🎉 Exciting News! 🎉
Did you fall in love with the mesmerizing Diamond Dance Runner pattern featured in our latest blog post? Good news – it’s now available as a downloadable PDF!
The Diamond Dance Runner pattern is a testament to the enduring allure of quilting as both an art form and a cherished tradition. With its graceful curves, dynamic movement, and endless creative possibilities, this pattern invites quiltmakers to embark on a journey of exploration and self-expression. Whether you’re a seasoned quilter or just starting out, the Diamond Dance Runner offers a captivating canvas upon which to unleash your creativity and imagination. So why not take the plunge and let the rhythm of the Diamond Dance inspire your next quilting adventure?

