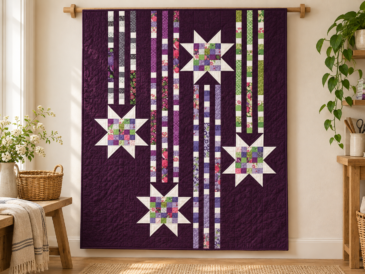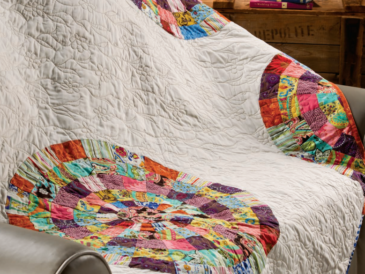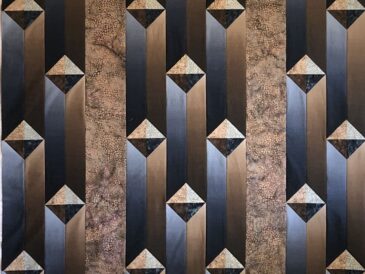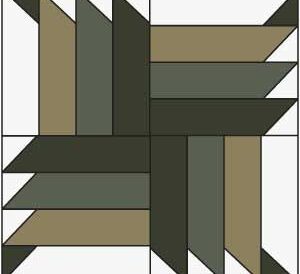
The Shadow Box Quilt Pattern is a fascinating design that uses simple patchwork and carefully placed colors to create the illusion of depth. Each featured fabric appears to float inside its own dimensional frame, making the finished quilt look much more complex than its construction may suggest.
This modern pattern is an excellent way to showcase beautiful prints, favorite fabric collections, novelty motifs, or treasured scraps. The generous focal areas allow special fabrics to remain visible, while the surrounding light and dark strips produce the shadows that give the quilt its distinctive three-dimensional appearance.
At the end of this article, you will find a free PDF with the complete Shadow Box Quilt Pattern, including the measurements, fabric requirements, cutting instructions, and assembly details needed to make your own quilt.
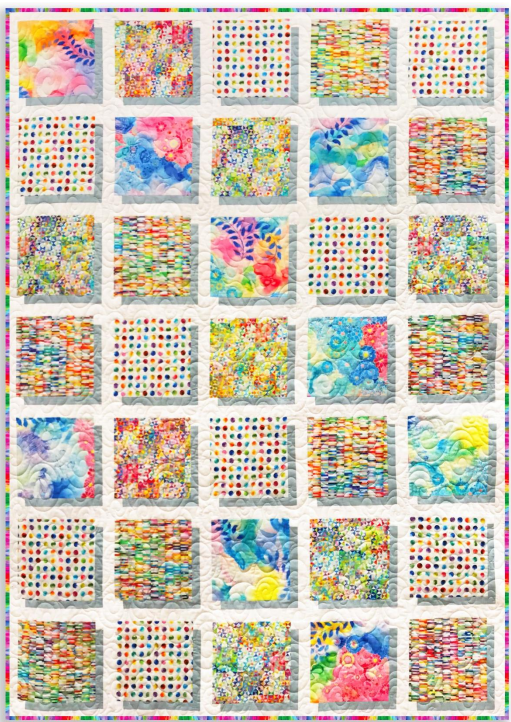
A Shadow Box Quilt is made from blocks designed to resemble framed boxes. Strategic placement of light, medium, and dark fabrics creates highlights and shadows around a central square or rectangle. When the blocks are arranged across the quilt, the featured fabrics appear to be suspended above the background.
The optical illusion is the most exciting feature of this design. Although the blocks look dimensional, they are created with traditional flat piecing. This makes the pattern a rewarding choice for quilters who want an impressive result without complicated curved seams or appliqué.
The block arrangement can be clean and symmetrical or playful and scrappy. Both approaches highlight the floating-box effect while giving the quilt a completely different personality.
Why You Will Love This Pattern
The Shadow Box Quilt is practical, versatile, and enjoyable to assemble. It works beautifully with many decorating styles and fabric themes, from bold contemporary solids to soft florals and vintage reproductions.
This pattern is also ideal for showcasing fabrics that you do not want to cut into very small pieces. A large-scale floral, scenic print, animal motif, or favorite novelty fabric can become the focal point of each box.
Because the blocks are constructed individually, the project is easy to organize. You can complete a few blocks at a time and watch the dimensional design gradually develop on your design wall.
Recommended Skill Level
This project is suitable for confident beginners and intermediate quilters. The main skills include accurate rotary cutting, sewing straight seams, maintaining a consistent seam allowance, pressing carefully, and arranging blocks according to a layout diagram.
The construction itself is approachable, but precision is important. The light and dark framing strips must remain in the correct positions for the shadow illusion to work. Labeling the pieces and following the PDF layout closely will help prevent accidental rotations.
Choosing the Best Fabrics
Successful color placement begins with contrast. Select one light fabric and one noticeably darker fabric for the dimensional frames. If these two values are too similar, the shadow effect may disappear when the quilt is viewed from a distance.
White, cream, or pale gray can provide highlights, while charcoal, navy, brown, or black can create convincing shadows. The background should remain visually separate from both frame fabrics so the boxes do not blend into the surrounding area.
For the focal centers, almost anything can work. Consider using:
- Coordinating fabrics from one collection
- Bright rainbow solids
- Floral or botanical prints
- Children’s novelty fabrics
- Holiday-themed prints
- Landscape or animal motifs
- Leftover fabrics from meaningful projects
- Fussy-cut images centered inside each box
If you are uncertain about the contrast, photograph the fabrics together and view the image in black and white. This makes it easier to see whether the light and dark values are sufficiently different.
Planning the Quilt Layout
Arrange the chosen focal fabrics before cutting or sewing. Decide whether you want the colors to form a gradient, repeat in a regular sequence, or appear randomly throughout the quilt.
A controlled layout can move from light to dark, warm to cool, or through the colors of the rainbow. A scrappy arrangement offers a lively and relaxed look, but the fabrics should still be distributed evenly so that one color does not dominate a single area.
Use a design wall, large table, or clean floor to test different arrangements. Taking photographs of each option can make it easier to compare them and select the most balanced composition.
Cutting and Organizing the Pieces
Read the complete PDF before cutting the fabric. Confirm the pattern measurements, seam allowance, and recommended quilt size. If templates are included, print them at the stated scale and measure the test square before using them.
Press each fabric to remove wrinkles, then cut with a sharp rotary blade and an accurate ruler. Even small cutting differences can affect the alignment of repeated blocks.
Separate the pieces by block and label the light, dark, background, and focal sections. Small trays, envelopes, reusable bags, or clips can help keep the units organized. This is especially helpful because several strips may look similar but must be sewn in a specific position.
Quilting Ideas for a Shadow Box Quilt
The quilting should complement the dimensional design without overwhelming the featured fabrics. Straight-line quilting is an excellent choice because it reinforces the geometric structure and can be completed on most domestic sewing machines.
You can quilt parallel lines across the entire project, outline each box, or echo the shapes within the background. Stitching in the ditch around the frame pieces will define the boxes while keeping the focal prints unobstructed.
For free-motion quilting, consider using a simple all-over meander in the background and lighter quilting inside the featured sections. Denser background quilting can make the boxes appear slightly raised, strengthening the three-dimensional effect.
Always prepare a small practice sandwich to test the thread, tension, stitch length, and quilting design before working on the finished quilt.
After quilting, trim the excess batting and backing and square the outer edges. Prepare the binding according to the instructions and sew it around the quilt.
Machine binding provides a durable and efficient finish, while hand stitching the final edge creates a traditional appearance. Add a label to the back with your name, the date, and any special story connected to the fabrics.
Give the quilt a final inspection and remove loose threads. If the fabrics were prewashed and the materials are washable, laundering the finished quilt can create the soft, slightly crinkled texture many quilters love.